
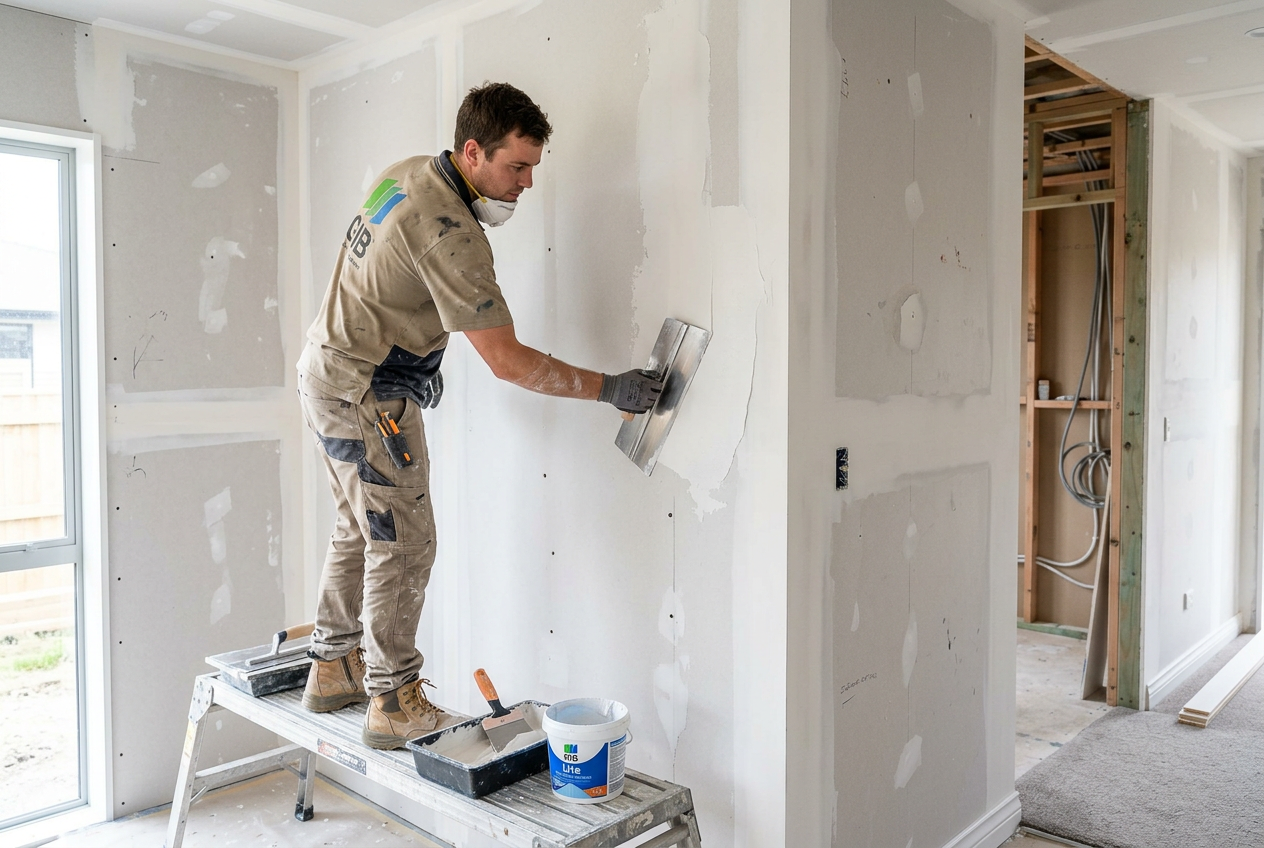
A smooth plasterboard finish makes a huge difference to the final look of a room. Whether you are painting with Dulux or Taubmans, or preparing walls for a feature finish, the quality of the jointing is what stops seams, bumps and tape lines from showing through later.
In Australian homes, jointing plasterboard properly is especially important because strong sunlight, dry inland air and summer heat can make flaws more visible. The good news is that with the right materials, patient layering and careful sanding, you can achieve a crisp, paint-ready result.
Start With Good Board Installation
Jointing cannot hide poor plasterboard fixing. Before mixing any compound, make sure the sheets are screwed off correctly, joints are neat, and all board edges are aligned. Recessed edges are designed for taping and filling, while cut edges often need a little more care to avoid a visible ridge.
Check that all screws sit just below the surface without tearing the paper face. Remove any dust, loose paper, nibs or bits of plasterboard debris. If a board edge is damaged, trim it cleanly rather than trying to fill over fluff or crumbling paper.
Choose The Right Compound And Tools
For most DIY jobs, a ready-mixed joint compound from a trade or hardware supplier such as Bunnings or Mitre 10 is the easiest option. For larger areas, some tradies prefer setting compounds because they harden faster and can be built up in stages. Gyprock by CSR is a common choice in Australia, and the packaging will usually indicate whether the product is for base coating, topping or all-purpose use.
Useful tools include:
- Broad taping knives or trowels for feathering out edges
- A joint knife for filling screw heads and tight spots
- Paper tape or jointing tape as recommended for the system you are using
- A sanding pole with fine abrasive paper
- A bright work light or raking light to spot imperfections
Keep your tools clean. Dried compound on a blade can leave drag marks and scratches that take extra sanding to remove.
The Best Way To Build A Smooth Finish
The secret to a smooth finish is thin coats, not heavy ones. Apply the first coat to bed the tape and fill the joint slightly wider than the board edge. Press the tape in firmly and remove excess compound so it sits flat. If you leave too much material under the tape, it can create a hump that is hard to disguise later.
Once the first coat is dry, apply a second coat a little wider than the first. This is where you start feathering the edges out so the join blends into the wall surface. Use smooth, even pressure and avoid repeatedly going back over partially dry compound, which can cause tearing and ridges.
The final coat should be the widest and thinnest. Think of it as a transition layer rather than a fill. A broad knife helps taper the edges so they disappear into the sheet surface. For screw heads, apply two or more light fills rather than one thick blob, allowing each coat to dry before the next.
| Step | What To Aim For | Common Mistake |
|---|---|---|
| Bed the tape | Flat tape with minimal excess compound | Leaving a thick ridge under the tape |
| Second coat | Wider feathered edges | Stopping the coat too narrow |
| Final coat | Thin, broad, smooth transition | Trying to fix everything in one pass |
Sand Carefully, Not Aggressively
Many rough finishes come from over-sanding rather than under-sanding. Once the compound is fully dry, sand lightly to remove trowel marks, high spots and edges. Use fine abrasive paper and a gentle touch. If you dig in too hard, you can sand through the top layer and expose the tape or paper face of the plasterboard.
Raking light is one of the best ways to spot imperfections. Shine it along the wall at an angle and look for shadows, bumps or shallow valleys. This is especially useful in rooms that get strong natural light, where even small defects can stand out after painting.
If you sand through a coat, stop and patch it rather than trying to keep smoothing the same spot dry. A quick skim and re-sand usually gives a better result than chasing one blemish for too long.
Work In The Right Conditions
Jointing performs best in moderate conditions. Very hot, dry or windy weather can make compound set too quickly, especially in homes with open windows or fans running. In damp weather, drying takes longer and the finish may soften if recoated too soon.
If you are working in a coastal or humid part of Australia, allow extra drying time between coats. Always follow the manufacturer’s instructions on the pack, and do not paint until the joints are fully dry and stable. Before priming, use a quality sealer or plasterboard primer suitable for the wall system and topcoat you plan to use.
For structural wall systems, wet areas and fire-rated applications, follow the National Construction Code and the product manufacturer’s specifications. If a plasterboard system is part of a fire, acoustic or wet area requirement, it is worth getting advice from a qualified professional to avoid costly rework.
When To Call A Professional
Small repair jobs and standard room lining are often manageable for capable DIYers, but large ceilings, feature walls, level-five finishes and damaged walls can be time-consuming and unforgiving. A licensed plasterer can save a lot of frustration if you need a top-quality finish for painting or resale.
Other trades such as electrical, gas and certain plumbing work must always be carried out by a licensed professional in Australia. If your plasterboard job involves moving power points, lights, vents or pipes, organise the relevant licensed trades before closing the wall.
For work involving homes, renovations and building compliance, check the relevant state Fair Trading or licensing body, and make sure any contractor is properly insured and qualified.
If you are comparing resources across the Tasman, you can also visit Trade Directory NZ.
For a clean, professional result without the trial and error, find qualified local plasterers on Aussie Trade Directory and get your walls ready for a smooth paint finish.