
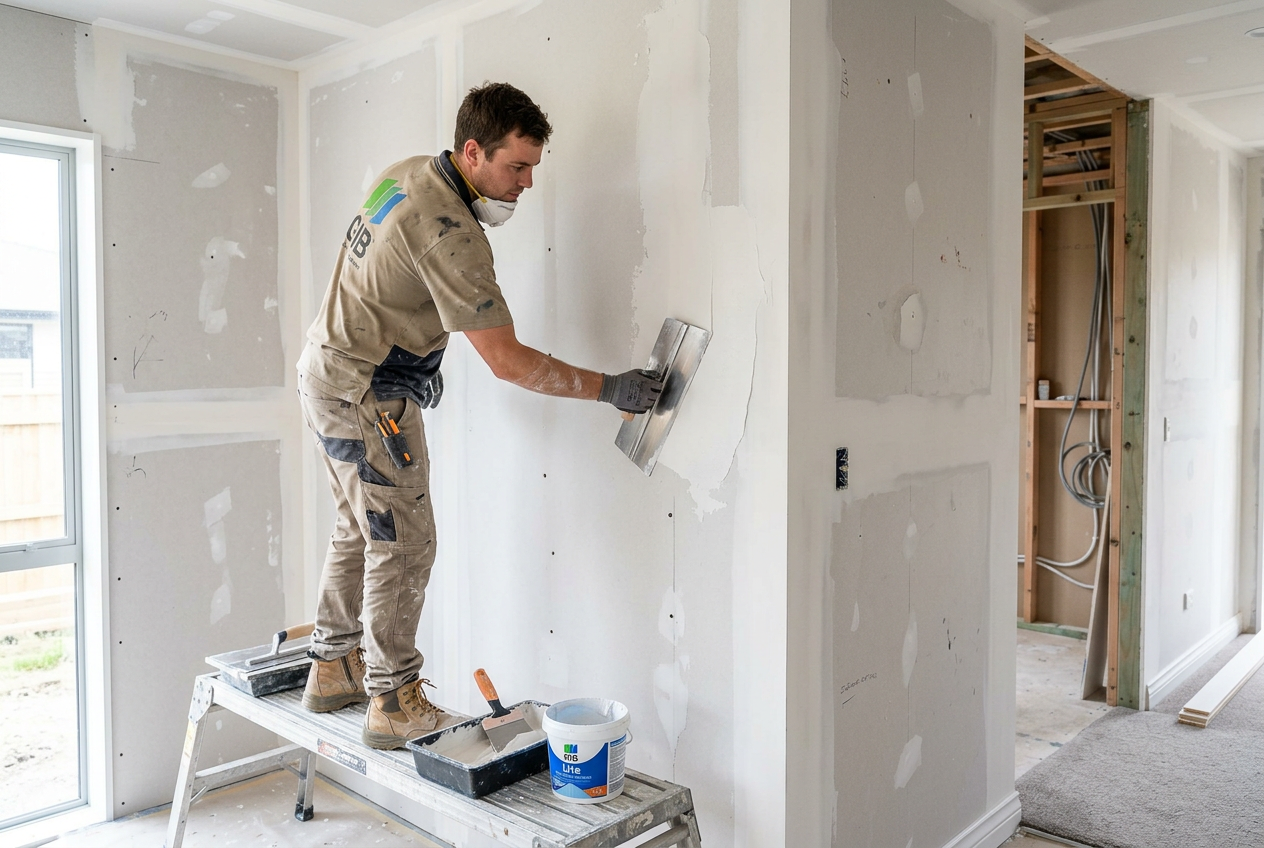
A hole in a plasterboard wall is one of the most common repairs in Australian homes, whether it comes from furniture, door handles, kids’ play, or an accidental knock during a renovation. The good news is that many small and medium holes can be repaired neatly with basic tools and a bit of patience.
This guide explains how to patch a hole in plasterboard, when a simple filler is enough, and when you’ll need a proper patch. It also covers sanding, priming and painting so the repair blends in with the rest of the wall.
Before You Start: Check The Damage
First, work out what you’re dealing with. Plasterboard repairs generally fall into three groups: tiny dents and nail holes, small holes, and larger holes where the plasterboard itself has broken away. If the paper face of the board is only slightly damaged, a filler repair may be all you need. If there’s a clean hole or crumbling edges, use a patch.
Before cutting or sanding, make sure the area is safe. If the hole is near a power point, light switch, or any cable, switch off the power at the switchboard and confirm there are no live services behind the wall. Electrical work itself must be done by a licensed electrician. If you suspect pipes or gas lines, stop and get a licensed plumber or gas fitter involved.
What You’ll Need
You can get most materials from Bunnings or Mitre 10, and common patching products are available from paint and plaster suppliers across Australia. Gyprock and other plasterboard-compatible fillers are widely used, along with sanding blocks, patching knives and acrylic primers.
| Repair Type | Typical Method | Best For |
|---|---|---|
| Tiny hole or dent | Filler and sanding | Nail holes, minor dings, shallow chips |
| Small hole | Self-adhesive patch or backing piece | Screw holes, small punctures |
| Larger hole | Cut-out patch with backing battens | Knocks, impact holes, damaged edges |
Useful tools and materials include:
- Utility knife
- Putty knife or broad knife
- Sandpaper or sanding sponge
- Patch compound or setting compound
- Self-adhesive mesh patch or plasterboard offcut
- Backing timber or plasterboard strips for larger repairs
- Primer/sealer and wall paint
- Dust mask and safety glasses
How To Patch A Small Hole In Plasterboard
For a small hole, start by trimming away any loose paper or crumbly plaster with a utility knife. Aim for a clean edge rather than a ragged one. Wipe away dust so the filler bonds properly.
If the hole is very small, apply a little patching compound with a putty knife, pressing it firmly into the damaged area. For slightly larger holes, a self-adhesive mesh patch works well. Centre it over the hole, stick it down, then cover it with a thin coat of joint compound. Spread the compound wider than the patch so the repair tapers smoothly into the wall.
Let it dry fully before applying a second coat. Two or three thin coats are usually better than one thick one, because thick filler can shrink, crack or take longer to dry. Once the repair is dry, sand it smooth with fine sandpaper. Keep the sanding light to avoid cutting into the surrounding wall paper.
How To Fix A Larger Hole
If the hole is bigger, a proper patch gives a stronger, flatter result. Trim the damaged area into a neat square or rectangle. This makes it easier to fit a patch and finish the edges cleanly.
For holes where there is no solid backing, secure timber strips behind the opening so the patch has something to sit against. Alternatively, use a plasterboard offcut cut slightly smaller than the hole, then hold it in place from behind with a support piece or battens. Fix the patch in position, then tape or compound the joins, depending on the system you’re using.
Once the patch is secure, apply joint compound in thin layers, feathering each coat out beyond the repair. When dry, sand the surface until it feels level with the surrounding wall. In older homes, take care not to damage the plasterboard face more than necessary, especially if the wall has aged paint layers that can lift during sanding.
Painting The Repair So It Blends In
Painting is what makes the repair disappear. Before painting, prime the patched area with a suitable sealer or primer. This is important because filler absorbs paint differently from plasterboard and can leave a dull or flashing patch if skipped.
Choose a quality interior paint from Australian ranges such as Dulux, Taubmans or British Paints, and match the existing wall colour as closely as possible. If the wall has aged or faded, you may need to paint the full wall rather than just the patch for the best finish. A small touch-up may show under certain light, especially in bright Australian sun near windows or if the wall has a low-sheen finish.
For the cleanest result, use the same roller nap and sheen as the original paint. If the surrounding wall has texture, try to recreate it lightly before the paint goes on.
When To Call A Plasterer
Some repairs are simple DIY jobs, but it’s worth calling a qualified plasterer if the hole is large, the wall is cracked beyond the damaged area, there’s obvious movement in the sheet, or the repair is in a visible feature wall where finish quality really matters. If the wall is part of a fire-rated system, wet area, or structural remodel covered by the National Construction Code, use the right products and get professional advice before changing anything.
A licensed tradesperson is also the safer option if the damage may involve hidden electrical, plumbing or gas services, or if there is mould, water ingress or repeated cracking that suggests a bigger problem behind the wall.
Quick Tips For A Neat Finish
- Work in thin layers and let each coat dry properly.
- Sand lightly and check the repair under side light before painting.
- Use a primer before topcoating to avoid flashing.
- Keep the patch slightly wider than the hole so it feathers in naturally.
- Wear a dust mask when sanding plasterboard compound.
Repairing plasterboard is a practical DIY task for many Australian homeowners, but the best result comes from taking your time and matching the repair to the size of the damage. If you’d rather leave it to a pro, or you need a flawless finish, you can also explore Trade Directory NZ.
Ready to get the job sorted properly? Find experienced local plasterers on Aussie Trade Directory and connect with a qualified tradesperson near you.