
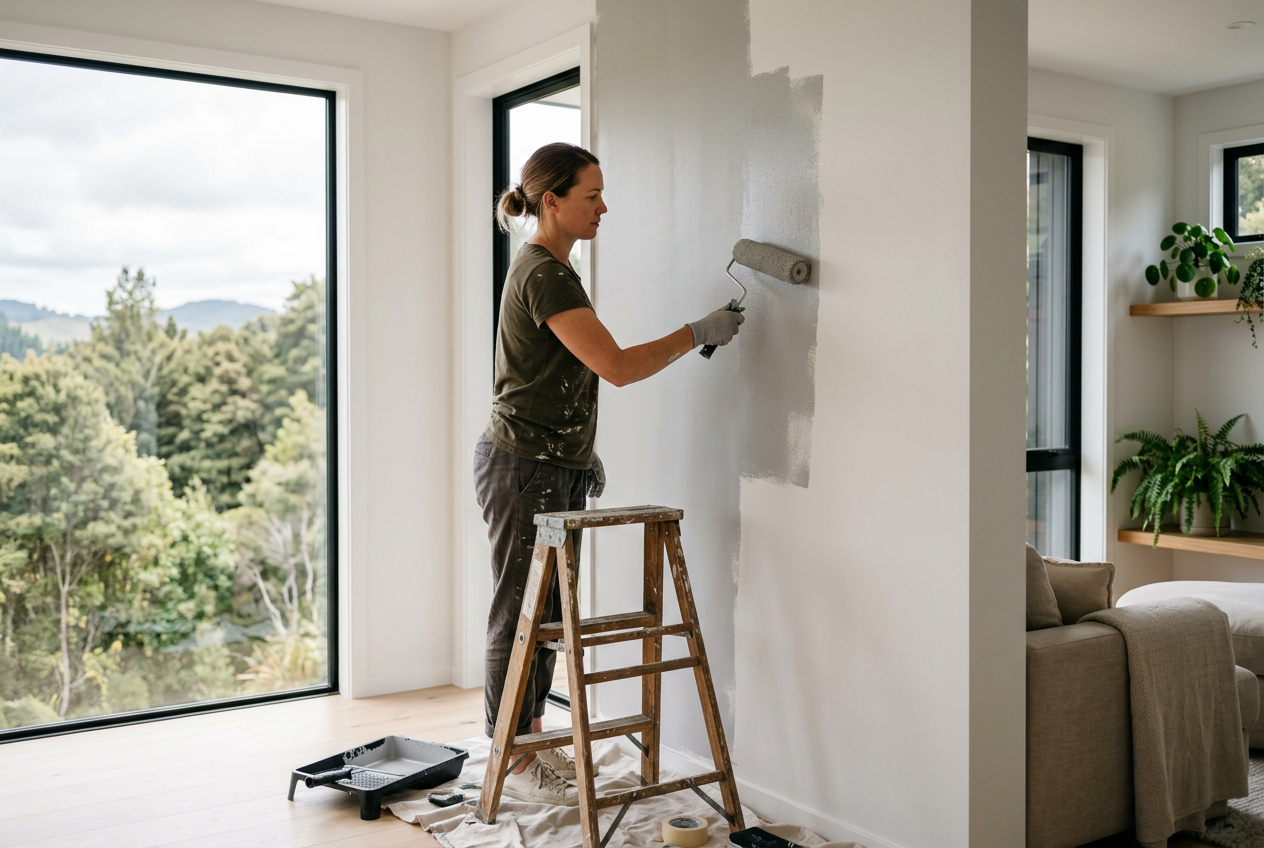
If you’re getting ready to paint a room, fence, wall or exterior surface, one of the first questions is whether you need an undercoat or a primer. The short answer is: sometimes both, sometimes one, and sometimes neither. It depends on what you’re painting, what condition the surface is in, and what finish you want.
For Australian homes, the right prep matters even more because our climate can be tough on coatings. Hot sun, coastal salt air, humidity and sudden temperature changes can all affect how well paint sticks and how long it lasts. Using the right primer or undercoat can improve adhesion, help with coverage, and reduce the chance of peeling or patchiness later.
What’s the Difference Between Primer and Undercoat?
People often use the terms interchangeably, but they do different jobs.
- Primer is used to help paint bond to a surface. It seals porous materials, improves adhesion, and can block stains or tannins.
- Undercoat is usually a base coat that helps create an even surface and better colour coverage before the topcoat goes on.
Some products sold at Bunnings and Mitre 10 are labelled as primer/undercoat, which means they combine functions for general use. That can be handy for standard interior repainting, but it’s not always the best choice for every surface.
When You Should Use Primer or Undercoat
You usually need one or both when the surface is new, repaired, stained, or difficult for paint to stick to. Common examples include:
- New plasterboard from Gyprock/CSR
- Fresh timber, including bare trim, skirting or joinery
- New fibre-cement sheeting from James Hardie
- Galvanised steel or Colorbond/BlueScope surfaces, where the right metal primer is essential
- Walls with stains, smoke marks, water marks or tannin bleed
- Previously glossy surfaces that need help with adhesion
- Patch repairs where filler or plaster has been used
If you’re painting over a dark colour with a lighter one, an undercoat can also help reduce the number of topcoats needed. That said, if you’re repainting a sound wall in a similar colour and finish, a quality topcoat may be enough after cleaning and light sanding.
When You May Not Need Either
Not every painting job needs a separate primer or undercoat. You may be able to go straight to topcoat if the surface is:
- already painted and in good condition
- clean, dry and free from dust, grease and mould
- lightly sanded to remove gloss
- being repainted in a similar colour
Many modern premium paints from brands such as Dulux, Taubmans and British Paints are designed to perform well on previously painted surfaces. Even so, always check the label and follow the manufacturer’s instructions. A paint that says it is self-priming may still need a separate primer on bare or problem surfaces.
How to Choose the Right Product
The best product depends on the surface. Here’s a simple guide:
| Surface | Usually Needed | Why |
|---|---|---|
| New plasterboard | Sealer/primer or undercoat | Stops the surface soaking up paint unevenly |
| Bare timber | Primer | Helps adhesion and seals tannins |
| Previously painted wall | Often none, or undercoat if changing colour | Depends on condition and colour change |
| Metal or Colorbond | Metal primer | Improves bonding and corrosion resistance |
| Stained surface | Stain-blocking primer | Helps stop marks bleeding through |
For exterior painting in harsh sun or coastal conditions, choose products suited to Australian conditions and make sure the system is compatible with your topcoat. If you’re unsure, ask a paint specialist at a local Bunnings or paint store and check the product data sheet.
Prep Is Still the Most Important Step
Primer won’t fix poor preparation. Before painting, make sure the surface is:
- cleaned of dust, grease and cobwebs
- dried properly
- free from loose paint
- filled, patched and sanded smooth
- treated for mould if needed
If you’re painting outside, avoid working in extreme heat, high winds or during rain. Australian weather can change quickly, and painting in poor conditions can affect drying and finish quality.
Also remember that some work is regulated in Australia. Painting itself is usually something a competent DIYer can do, but any electrical, gas or certain plumbing work around the job must be done by a licensed professional. If your prep uncovers damaged wiring, leaks or other defects, stop and call the right tradesperson.
DIY or Call a Painter?
Many straightforward repainting jobs are manageable for homeowners, especially indoors. But it can be worth hiring a professional painter if you have high ceilings, exterior weatherboards, weather-damaged surfaces, detailed trim work, or a large colour change. A licensed and insured painter will understand surface preparation, product compatibility and the requirements of the National Construction Code where relevant to the work.
If you’re comparing options, remember that the cheapest product is not always the best value. A better-quality primer or undercoat can save time, improve finish and help the paint last longer.
For homeowners in Australia wanting more guidance, it can help to speak with a trade professional or check suppliers such as Bunnings, Mitre 10 or your preferred paint brand before starting.
For readers comparing trade resources across the Tasman, you may also find Trade Directory NZ useful.
Need help with your next painting project? Find qualified local painters on Aussie Trade Directory and get the right prep and finish for your home.