
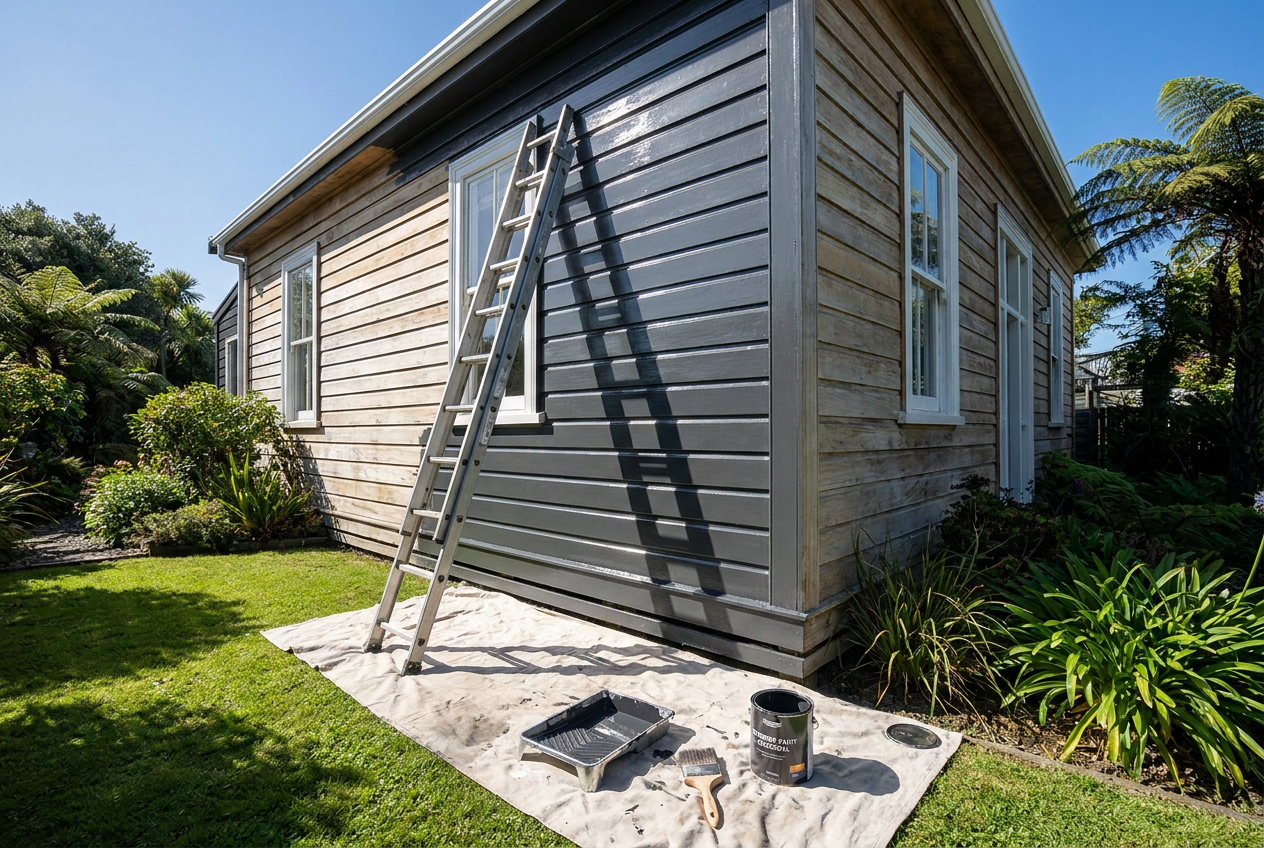
Building a simple stud wall is a practical way to create a new room, divide a larger space, or add privacy in a home. For Australian DIYers, the key is to plan carefully, use the right materials, and know when the job needs a licensed trade professional. A straightforward timber or steel stud wall is usually manageable for handy homeowners, provided it is non-load-bearing and does not involve electrical, plumbing, gas, or structural changes.
Before you start, check the National Construction Code and your state or territory building and licensing rules, especially if the wall changes a habitable room, affects fire separation, or sits in a wet area. If you are unsure, speak with a qualified builder or carpenter first.
What You Need For A Simple Stud Wall
Most basic internal stud walls use timber or light-gauge steel framing, plasterboard, fixings, and a few common tools. For many homes, timber framing is the simplest option for DIY, while steel framing is also available from major suppliers such as Bunnings and Mitre 10.
- Top and bottom plates
- Wall studs
- Nails or screws suitable for the framing material
- Plasterboard such as Gyprock/CSR
- Insulation batts if you want sound reduction
- Construction adhesive where appropriate
- Fixings for attaching to floor, ceiling, and existing walls
- Measuring tape, level, chalk line, saw, drill, and square
If the wall will be painted, you can finish it with an Australian paint brand such as Dulux, Taubmans, or British Paints once the plastering is complete.
Step-By-Step: Building The Frame
Start by marking the wall position on the floor, then use a plumb line or laser level to transfer the line to the ceiling. Accuracy here matters, because even a small error will make plasterboard installation harder later.
1. Mark Out The Wall
Confirm the wall position does not block existing services, vents, switches, windows, or access points. If you suspect services are hidden in the floor, wall, or ceiling, stop and investigate before drilling or fixing anything.
2. Fix The Plates
Cut the top and bottom plates to length. Lay the bottom plate on your floor line and fix it securely. Then fix the top plate directly above it on the ceiling line. Use suitable fasteners for timber, concrete slab, or existing framing depending on your home’s structure.
3. Install The Studs
Cut the studs to fit between the plates and place them at regular spacing. Common spacing is used to suit standard plasterboard sheets, but always check your materials and local practice. Fix each stud securely so the frame stays straight and square.
4. Add Door Framing If Needed
If you are adding a doorway, install a proper opening with jack studs and a header. This is one area where careful workmanship matters, because a poorly framed opening can cause cracking and movement. If the wall is load-bearing or part of a more complex renovation, use a licensed builder or carpenter.
Cladding, Finishing, And Painting
Once the frame is straight and firm, you can add insulation, then sheet both sides with plasterboard. In many homes, Gyprock is the common go-to for internal walls. Stagger plasterboard joins where possible, screw sheets off neatly, and tape and set the joints before sanding.
For a clean finish:
- Check all screw heads are slightly below the surface
- Use corner beads on external corners
- Patch any gaps before painting
- Prime the plasterboard before topcoats
Australian conditions can affect finishing work, especially in humid coastal areas or hot inland homes. Allow materials to acclimatise and follow the manufacturer’s instructions for drying times and ventilation.
Timber Vs Steel Framing
| Feature | Timber Frame | Steel Frame |
|---|---|---|
| Ease for DIY | Usually simpler to cut and fix | Neater and lighter, but needs correct metal fixings |
| Moisture resistance | Can be affected by damp if not protected | Better in some conditions, depending on product |
| Tools | Standard woodworking tools | Tools for metal framing and compatible screws |
| Best for | Most simple internal walls | Lightweight internal partitions |
Either option can work well when installed correctly. Your choice may come down to what is already used in the house, your comfort with the tools, and the finishes you want.
Safety, Legal Requirements, And When To Call A Pro
Always work safely and follow Safe Work Australia guidance, including eye protection, hearing protection, dust control, and safe use of ladders and saws. Make sure the area is clear and stable before you start cutting or fixing.
Some parts of the job are not DIY territory. Electrical work must be done by a licensed electrician. Gas work must be done by a licensed gas fitter. Plumbing alterations must be done by a licensed plumber. If the wall affects structural elements, fire resistance, waterproofing, or hidden building services, use a licensed professional and check your state or territory rules through the relevant fair trading or building authority.
In wet areas such as bathrooms and laundries, wall construction can trigger extra waterproofing and lining requirements. Do not guess; get advice before you build.
If you are unsure about any stage, it is better to pause and get help than to create a problem that is costly to fix later.
For homeowners comparing renovation options, it can also help to look at related guidance from Trade Directory NZ.
If you want the job done properly, find qualified local trade professionals through local trade professionals on Aussie Trade Directory.