
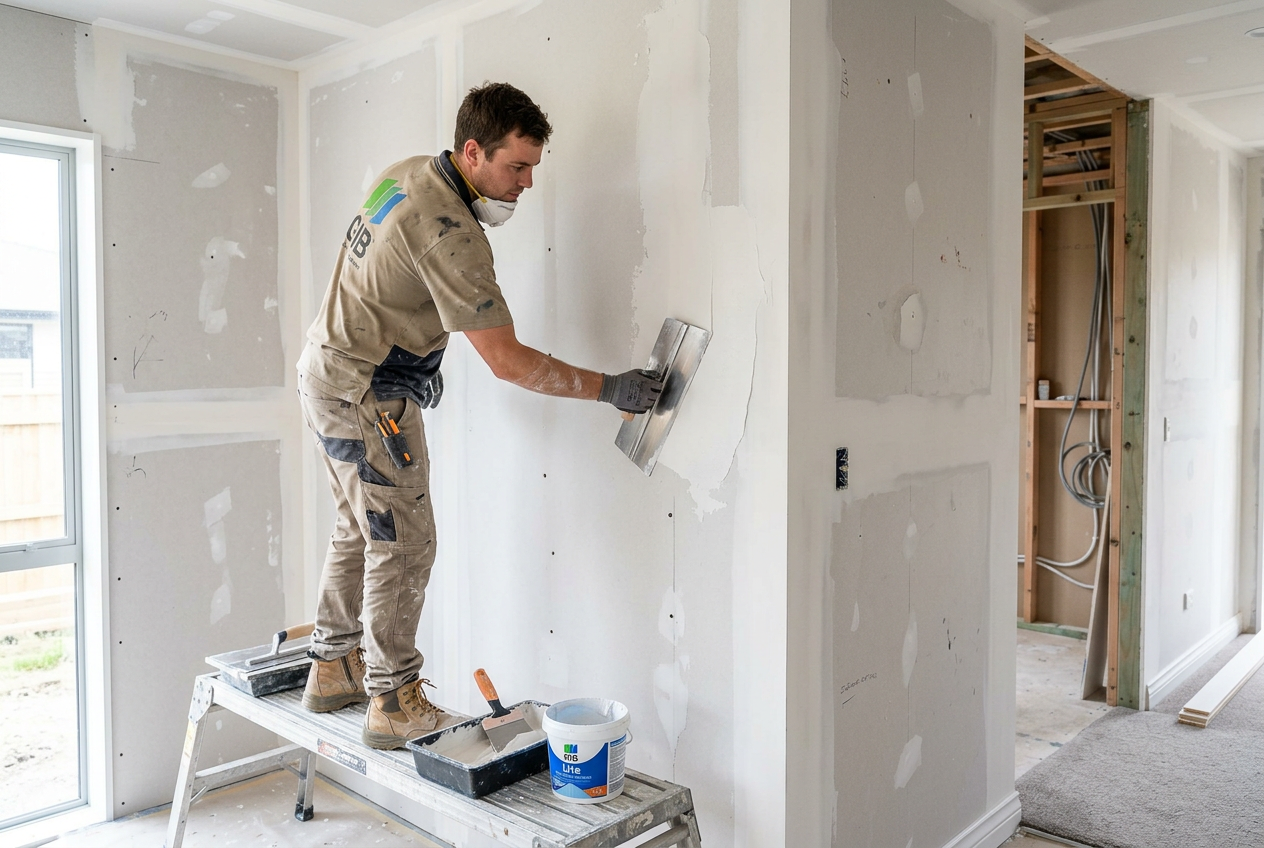
Feathering plaster is the skill that turns a visible repair line into a smooth, paint-ready wall or ceiling. If you’ve patched a crack, replaced a section of plasterboard, or filled a damaged corner, the goal is simple: blend the repair into the surrounding surface so you can’t see where it starts or ends.
The good news is that you don’t need fancy tools to get a clean result. With the right compound, patience, and a bit of sanding, most small to medium repairs can be finished neatly by a DIYer. The main trick is not to try to hide the join with one thick coat. Feathering is done in thin layers, each one made wider than the last.
What Feathering Means
Feathering plaster means tapering the edge of your repair so the transition between old and new surface is gradual, not abrupt. In practice, that means spreading joint compound well beyond the damaged area and thinning the edge so it disappears into the existing wall finish.
This matters because light will pick up any ridge, lump, or hard edge. Even if the patch is strong, a poor finish can still show through paint, especially in side light on ceilings and hallways. A proper feathered repair should look flat before painting and invisible after priming and topcoating.
Tools and Materials You’ll Need
For most plasterboard patching jobs, you can get what you need from Bunnings or Mitre 10. A lightweight joint compound, broad knives, sanding gear, and a good primer are the essentials. If you’re working with fibre cement or another wall lining, check the product guidance from the manufacturer such as Gyprock/CSR or James Hardie before you start.
| Item | Why It Helps |
|---|---|
| Joint compound or topping compound | Builds the patch in thin layers |
| Wide plastering knife or trowel | Helps spread compound wider for a softer edge |
| Sandpaper or sanding sponge | Levels the repair without gouging the wall |
| Dust mask and safety glasses | Protects you from fine plaster dust |
| Primer/sealer | Stops the patch flashing through paint |
Work in good light if you can, and use a portable work light held low across the surface. That side lighting makes ridges and scratches easier to see before painting.
Step-By-Step: How To Feather Plaster Properly
1. Prep the area
Start by removing loose plaster, flaky paint, dust, and any paper lifting from plasterboard. If the edge of the repair is ragged, trim it back to something stable. A clean, sound base gives the new compound something to bond to.
2. Apply the first coat narrowly
Fill the damaged area first, pressing the compound in firmly. Keep this coat focused on the repair itself. Don’t worry about making it perfect at this stage. Let it dry fully according to the product instructions.
3. Spread the next coat wider
Use a wider blade for the second coat and extend the compound beyond the first coat. As you pull the knife across the patch, angle the outer edge of the blade slightly so the compound thins out at the perimeter. This is the beginning of the feathered edge.
4. Build in thin layers
Repeat with another thin coat if needed, making each pass wider than the one before. The aim is a smooth slope from the centre of the patch to the surrounding wall. Avoid leaving a hard line at the edge, because that’s what will show after painting.
5. Sand lightly and check your work
Once dry, sand gently with a fine abrasive. Use a light touch so you flatten high spots without cutting through the compound or scuffing the surrounding paper. If you feel a ridge with your hand, it will probably show under paint, so give it another thin coat if needed.
6. Prime before painting
Always prime repaired plaster or plasterboard before topcoating. A good sealer or wall primer helps the paint absorb evenly and reduces patchiness. Brands such as Dulux, Taubmans and British Paints all offer suitable primers for internal walls.
Common Mistakes That Make the Join Show
- Using one thick coat instead of several thin layers
- Stopping the compound too close to the repair
- Leaving knife marks, pinholes, or sanding scratches
- Painting straight over unprimed patching compound
- Trying to fix a rough finish with more paint instead of more plaster work
If you’re patching a ceiling, be extra careful. Ceiling light and the Australian sun coming through windows can make even tiny imperfections stand out. Rooms with strong natural light often need a broader feathered edge and more careful sanding.
When To Call A Plasterer
Small dents, nail holes, and minor patching are often manageable for a capable DIYer. But if the repair is large, the plasterboard is sagging, water-damaged, or the crack keeps returning, it’s worth bringing in a professional plasterer. Structural cracking, movement in the frame, or ongoing moisture issues need proper diagnosis before any cosmetic repair.
If the damage is related to electrical, gas, or plumbing work, that work must be handled by a licensed professional in Australia before any plaster repair begins. And if you’re unsure whether the wall system is asbestos-containing, stop and get advice from a licensed asbestos assessor or removalist in line with state and territory rules and Safe Work Australia guidance.
For more trade advice, you can also check out Building or renovating across the Tasman? Our sister site Trade Directory NZ covers the same topics for New Zealand homeowners.