
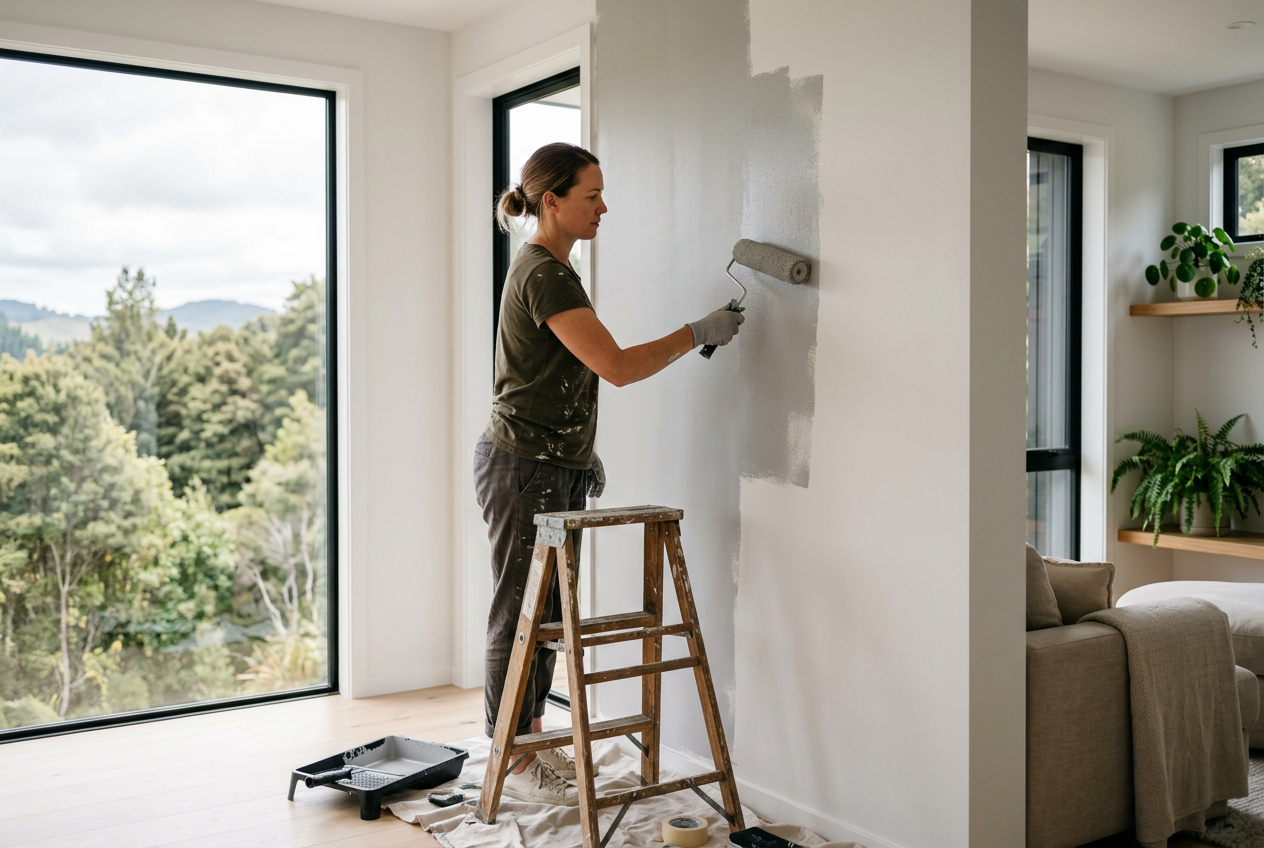
Painting a ceiling can make even a simple room feel like a workout. Your arms are overhead, the paint wants to run, and before long your neck is tight and the floor is speckled with drips. The good news is that with the right setup, you can make ceiling painting much easier, cleaner and less tiring.
Whether you are refreshing a bedroom, living area or hallway, the key is to reduce how much time you spend looking up, use the right gear, and keep your paint under control from the start. Here is how to tackle it properly for Australian homes.
Set Up The Room Before You Pick Up A Roller
A good ceiling job starts before any paint goes on the brush. Clear as much furniture as you can, then cover the rest with drop sheets or plastic-backed protectors. Use painter’s tape around cornices, light fittings, door frames and any trim you do not want splashed.
Turn off power to light fittings at the switchboard before removing covers or working near them. If there is any electrical work involved beyond simple painting around fixed fittings, that is licensed electrical work and must be done by a licensed electrician under Australian rules.
For best results, choose a washable ceiling paint from brands commonly found at Bunnings or Mitre 10, such as Dulux, Taubmans or British Paints. A flat ceiling finish is usually best because it helps hide roller marks and minor imperfections.
Use the right tools to reduce strain
- Extension pole: This is the biggest neck-saver. A proper extension pole lets you keep the roller lower and your head in a more neutral position.
- Lightweight roller frame: Less weight in your hands means less fatigue during longer jobs.
- Quality roller cover: A good cover holds paint evenly and reduces splatter.
- Paint tray with grid: Helps you load the roller evenly without overloading it.
| Tool Choice | Why It Helps | Best For |
|---|---|---|
| Extension pole | Reduces overhead reach and neck strain | Most ceiling painting jobs |
| Short roller handle | Good for very small spots only | Cutting in tight areas |
| Lightweight ladder or step platform | Improves access and balance | Edges and detail work |
How To Stop Paint Drips Before They Start
Drips usually happen when the roller is overloaded, the paint is too thin, or the painter is working too fast. To avoid that, load the roller evenly and roll off excess paint on the tray grid before touching the ceiling. You want the roller wet, not dripping.
Work in manageable sections. Start near one corner and roll in overlapping strokes, keeping a wet edge so the finish blends smoothly. If you are painting over a stained or patchy ceiling, use a quality ceiling primer or stain blocker first so you do not have to keep going over the same area.
It also helps to avoid painting in very hot, windy or humid conditions. Australia’s climate can make paint flash off too quickly in summer, especially in rooms with strong airflow. If the room is hot, use ventilation carefully and keep the job under control rather than rushing.
Use the cut-in and roll method
- Cut in around the edges with a brush first.
- Then roll the main ceiling area while the cut-in paint is still workable.
- Keep a consistent direction so the finish looks even.
- Check for sags or heavy spots as you go and smooth them out immediately.
Protect Your Neck, Shoulders And Back
Painting overhead is hard on your body, so the trick is to reduce repetitive strain. Keep the roller pole adjusted so you are not reaching too far. If you are using a ladder, do not stand on the top step unless the ladder is designed for it, and never overreach. Move the ladder or platform instead.
Take short breaks every so often and stretch your neck, shoulders and forearms. A few minutes off the tools can stop stiffness from turning into a proper sore neck the next day. If the room is large, split the work into sections over more than one session rather than trying to do the whole ceiling in one go.
Good lighting also helps. Use bright temporary work lights so you can see missed patches, roller lines and drips without craning your neck awkwardly. A clear view means fewer touch-ups later.
When To Call A Professional Painter
If the ceiling is high, badly stained, heavily cracked, or you are dealing with old water damage, it may be smarter to bring in a professional painter. A licensed tradesperson can also help if there is mould, extensive patching, or access issues that make the work awkward and unsafe.
In some cases, ceiling repairs may involve plasterboard replacement, cornice work or structural issues. Products such as Gyprock/CSR or James Hardie are commonly used in Australian homes, but if the damage suggests more than cosmetic patching, get the right trade involved. Likewise, any work affecting gas appliances, plumbing or electrical fixtures must be handled by a licensed professional.
If you are unsure whether your ceiling is suitable for DIY painting, check the requirements under your state or territory fair trading or licensing body, and make sure the job complies with the National Construction Code where relevant.
For homeowners who want a clean finish without the neck ache, a professional painter can often save time, mess and a lot of frustration. If you want to compare options across the ditch, you can also visit Trade Directory NZ.
Ready to get the job done properly? Find experienced local painters on Aussie Trade Directory and choose a qualified professional who can help with a smooth, drip-free finish.