
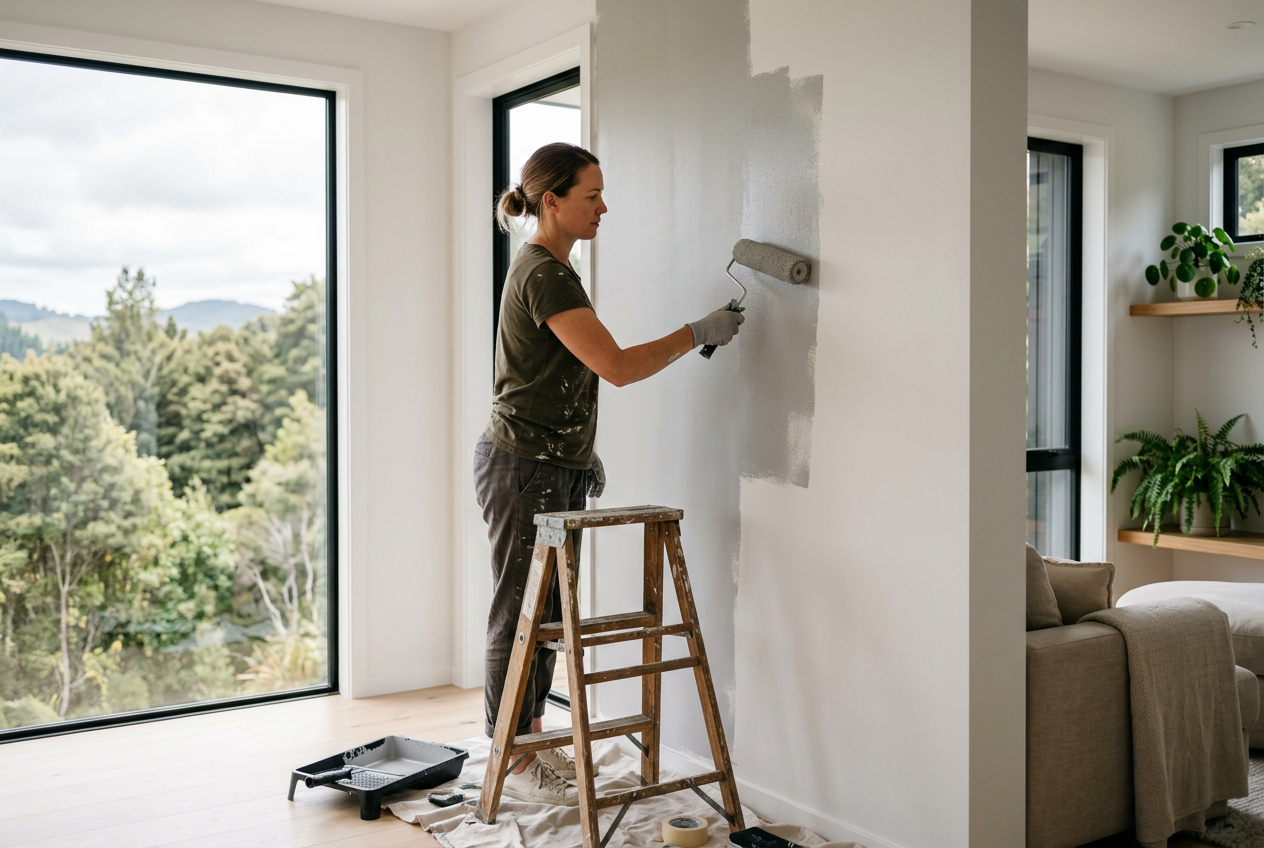
Painting the inside of a wardrobe or its shelving is a practical way to freshen up a tired space, seal stains, and make storage easier to keep clean. Done properly, it can also brighten a dark built-in robe and give your bedroom a more finished look. The key is good prep, the right paint, and a finish that can handle regular use.
Before You Start: Check The Surface And The Structure
First, work out what you’re painting. Wardrobe interiors are commonly made from melamine, MDF, plywood, laminate, or painted timber. Each surface needs slightly different preparation, but the basics are the same: clean, repair, sand lightly, and use a suitable primer.
If the wardrobe has lighting, powered mirror doors, or any electrical fittings inside, switch off the power at the main switchboard before you start. Electrical work must be carried out by a licensed electrician in Australia. If you find water damage, mould, or sagging shelves, it may be worth getting a carpenter or handyman to inspect the structure before you paint.
The Best Paint And Finish For Wardrobe Interiors
For most wardrobe interiors and shelving, a hard-wearing low-sheen or satin finish is a sensible choice. It is easier to wipe down than a flat finish and is less likely to show scuffs from hangers, shoes, or folded clothes. Australian paint ranges from Dulux, Taubmans, and British Paints all offer suitable interior products, and your local Bunnings or Mitre 10 paint desk can help match the right primer and topcoat to your surface.
For melamine or laminate shelving, use an adhesion primer designed to grip glossy surfaces. For raw timber or MDF, a sealing primer is important to reduce timber grain raise and help the topcoat go on evenly. If the wardrobe is in a humid area or has had a mildew issue, choose a mould-resistant interior paint and make sure the area is fully dry before you begin.
| Surface | Prep Needed | Best Paint Approach |
|---|---|---|
| Melamine or laminate | Clean thoroughly and sand lightly | Bonding primer plus durable low-sheen or satin finish |
| Raw MDF or timber | Fill defects, sand, remove dust | Sealing primer plus two topcoats |
| Previously painted shelving | Clean and degloss lightly | Primer only if needed, then topcoat |
Step-By-Step: Painting A Wardrobe Interior
1. Empty, Remove, And Protect
Take everything out of the wardrobe, including shelves where possible. Remove hanging rails, shelf supports, hooks, and any loose fittings that can be taken out without damaging the structure. Cover nearby carpet, flooring, and door hardware with drop sheets and painter’s tape.
2. Clean The Surfaces
Wipe down all surfaces with sugar soap or a suitable degreaser to remove dust, body oils, and built-up grime. Wardrobes often collect fine dust and lint, so don’t skip this step. Let the surfaces dry fully before sanding or priming.
3. Sand Lightly And Repair Damage
Use fine sandpaper to dull glossy surfaces and help the primer bond. Fill dents, chips, or screw holes with a suitable filler, then sand smooth once dry. Vacuum or wipe away all dust before priming.
4. Prime Properly
Apply the right primer for the surface type. This is especially important for laminate, melamine, and stained timber, which can otherwise cause paint to peel or bleed through. Let the primer cure as directed on the can, and lightly sand any rough spots before topcoating.
5. Apply The Topcoat
Use a quality brush and mini roller to coat the shelves, side panels, and back of the wardrobe. Two thin coats are usually better than one heavy coat, particularly on shelving where durability matters. Allow each coat to dry fully before applying the next.
6. Reassemble And Ventilate
Once the paint has hardened enough to handle, reinstall shelves and fittings. Keep the wardrobe doors open for a while to help ventilation and allow lingering paint smell to clear. Avoid heavy use straight away so the finish can cure properly.
Practical Tips For Better Results
- Work in a well-ventilated area and follow the safety directions on the paint can.
- Use a low-VOC interior paint if the wardrobe is in a bedroom, nursery, or small enclosed space.
- Mask off hinges, tracks, and door seals to avoid paint build-up.
- If you want a neat finish on shelving edges, use a small angled brush first, then a mini roller.
- Test your primer and paint on a hidden area before painting the whole wardrobe.
In hotter or more humid parts of Australia, allow extra drying time between coats and avoid painting when the air is damp. Good airflow makes a noticeable difference to the final finish.
When To Call In A Professional
If your wardrobe is built-in and tied into walls, there may be nearby plasterboard, skirting, or trim that needs careful repair before painting. If the shelving is warped, the fixings are failing, or you want the inside repainted to a high standard for a renovation, a professional painter can save time and improve the finish. Any work involving electrical fittings must be handled by a licensed professional, and plumbing or gas work nearby must also be left to the appropriate licensed tradesperson.
For homeowners planning broader internal updates, it can help to coordinate wardrobe painting with other small jobs so the room is finished cleanly and consistently. If you’re also looking at shelving upgrades, cabinet adjustments, or patching and painting, a local tradesperson can advise on the best order of work. For more home maintenance resources, you can also check Trade Directory NZ.
If you’d prefer a neat, durable result without the hassle, find experienced local painters on Aussie Trade Directory and compare qualified professionals in your area.