
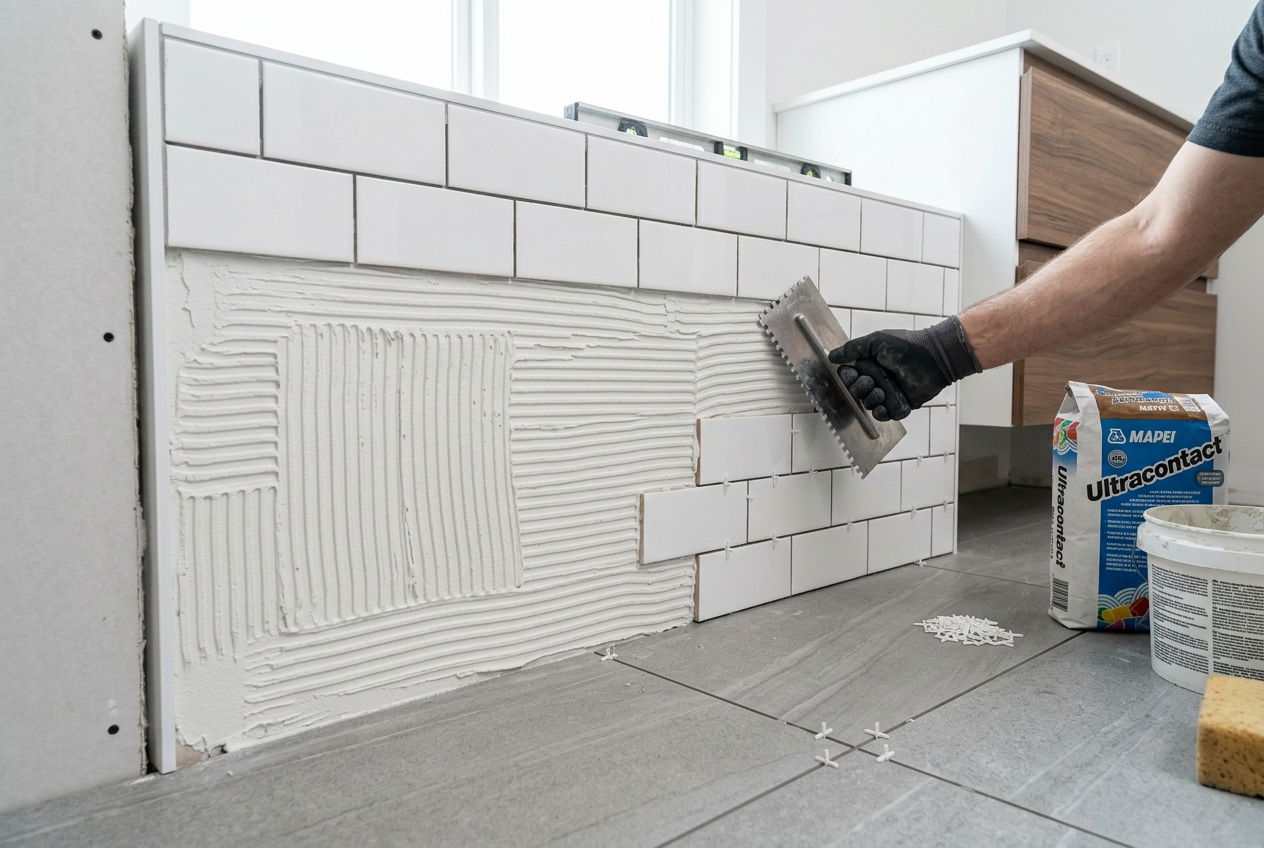
A good tile layout can make a room look balanced, professional and much easier to live with. A poor layout, on the other hand, can leave you with awkward thin slivers at walls, corners, doorways or around fixtures. Those small cuts often look untidy, can be harder to install neatly, and may leave the whole job feeling “off”.
If you are tiling a bathroom, laundry, kitchen splashback or floor, the key is to plan the layout before you mix adhesive or make a single cut. With a bit of measuring and a dry layout, you can avoid the common mistake of starting in the wrong spot and ending up with tiny edge pieces.
Start With The Room, Not The Tiles
Before you choose a starting point, look closely at the space. Measure the room in both directions and mark the true centre lines on the floor or wall. In many cases, the centre of the room is a good place to begin planning, but not always the best place to start tiling.
Think about what people will see first. In a bathroom, the vanity, shower screen or main entrance may be the visual focal point. In a kitchen, the most visible wall is often the one above the benchtop. If you can keep full or near-full tiles in these visible areas, the finished result usually looks much better.
Check For Feature Points And Obstructions
- Doorways and transitions into other rooms
- Floor wastes, drains and plumbing penetrations
- Built-in cabinets, vanity units and bath edges
- External corners and wall returns
- Window reveals and splashback outlets
In Australia, any work that involves electrical, gas or certain plumbing connections must be handled by a licensed professional. If your tile layout affects power points, water outlets or floor wastes, plan the tiling around those licensed trades before you start.
Use A Dry Layout To Find The Best Balance
The simplest way to avoid thin slivers is to lay a row of tiles out dry, without adhesive, and see where the cuts land. Use tile spacers so the joints are realistic. This helps you test whether you will finish with tiny offcuts at the edges or a more balanced cut each side.
A common goal is to avoid ending up with a strip that is less than about half a tile at the edge, especially in a highly visible area. If the layout produces a sliver on one side, shift the starting line a little until both ends have more even cuts. A slightly smaller tile at each side usually looks far better than one full tile and one awkward narrow piece.
Centre Lines Versus Centre Tiles
There is a difference between centring the room and centring a tile. If you begin with a tile centred on the room line, you may still end up with small cuts at the edges. Sometimes it is better to centre a grout joint or adjust the pattern by half a tile, depending on the tile size and room dimensions.
For patterned tiles, large-format tiles or a feature border, the layout may need to be based on the pattern rather than the room centre. Always check how the design reads from the doorway or main viewing angle.
Plan Around Tile Size, Grout Joints And Pattern
Tile size and grout width have a big effect on the final result. Wider grout joints change the overall coverage, which can shift where your cuts land. That is why it is best to measure using the actual tile size plus the joint width you intend to use.
Different patterns also change the layout. Straight lay is usually the easiest to plan, while herringbone, staggered or brick bond patterns need extra care. In a staggered layout, do not assume the offcuts at one end will automatically balance out. Check the full run before committing.
| Layout Approach | Best For | Watch Out For |
|---|---|---|
| Centre start | Simple rooms and balanced walls | Can still leave slivers at the edges if dimensions do not suit the tile size |
| From a visible focal point | Bathrooms, splashbacks and feature walls | May make hidden ends less neat if not checked carefully |
| Adjusted starting line | Rooms with awkward dimensions | Needs careful measuring and a dry run |
| Feature border or trim | Large areas and decorative finishes | Extra planning needed to keep borders even |
Use Reference Lines, Not Guesswork
Mark level and square reference lines with a spirit level or laser level so you are working from a consistent guide. A line that looks straight by eye can drift over a full room and leave you with progressively worse cuts.
If the room is not square, which happens often in Australian homes, do not force the tiles to follow a crooked wall. Instead, decide which line matters most visually and allow the cuts to absorb the irregularity at the least noticeable edge. For example, you might hide a slightly larger cut behind a vanity, under a cabinet or at a less visible wall.
Practical Checks Before You Start
- Measure twice in both directions
- Allow for grout joints and movement joints where required
- Dry lay a few rows from the centre and from the main entrance
- Check how cuts look at doors, corners and fixtures
- Adjust the starting point before adhesive is mixed
For external tiling, balconies and wet areas, make sure the waterproofing and substrate work complies with the National Construction Code and relevant Australian standards. If there is any doubt about substrate preparation, waterproofing or movement joints, get advice from a licensed tiler or waterproofing professional.
When A Small Change Makes A Big Difference
Often, avoiding thin slivers comes down to moving the layout by a small amount. A slight shift in the centre line, changing the starting point, or trimming a border tile evenly on both sides can transform the appearance of the whole room. The best layouts usually look intentional rather than forced.
If you are using tiles from Bunnings or Mitre 10, follow the manufacturer’s installation advice and check the tile batch before you begin. Keep in mind that tile shade, size variation and edge finish can affect how the layout reads once installed.
For a polished result, take your time with the planning stage. A careful dry layout, sensible starting point and attention to the room’s main sightlines will usually save you from frustrating little edge pieces later on. And if you want the job done neatly the first time, you can also find helpful advice through Trade Directory NZ.
If you are ready to get started, find a qualified local tiler through local tilers on Aussie Trade Directory.