
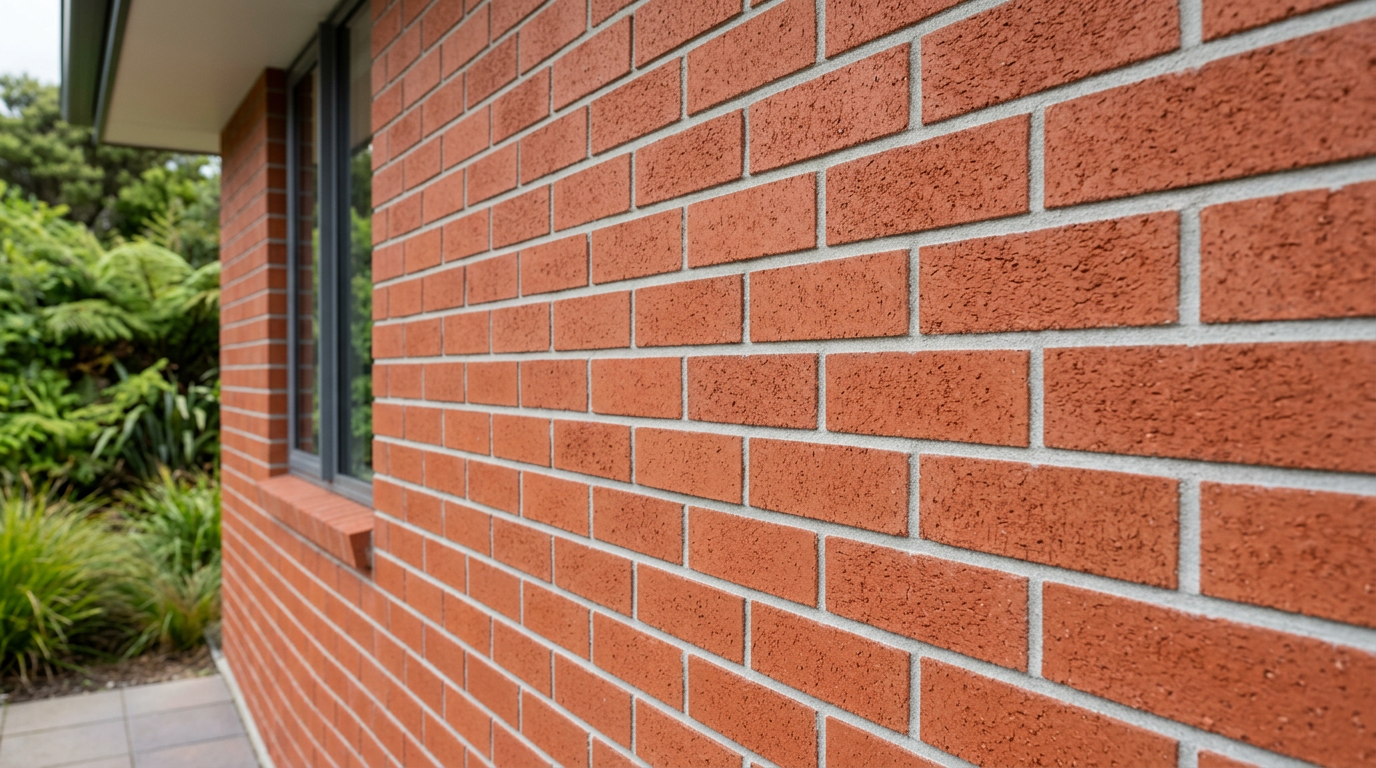
Getting your home ready before a renderer arrives can make the job smoother, protect your property, and help deliver a cleaner finish. A bit of prep also reduces delays once the render crew is on site, especially on Australian homes where weather, dust and older building materials can all affect the result.
Whether you’re updating a brick veneer home, refreshing old cement render, or finishing new fibre cement sheeting from brands like James Hardie, the preparation stage matters. Here’s what to organise before the first coat goes on.
Check What the Renderer Will Be Working On
Start by walking around the outside of your home and noting the surfaces that will be rendered. Common substrates include brick, blockwork, concrete, Hebel-style masonry, and fibre cement products. If your home has cracks, loose mortar, peeling paint or patchy previous repairs, point these out early so the renderer can assess them properly.
If you have any recent building work, make sure the new surfaces are compatible with the render system being used. Some products need specific prep, primers, mesh or joint treatment, so it’s worth confirming details with your renderer before they arrive.
If there are signs of water damage, movement cracks or damp areas, get those checked first. Render can hide problems temporarily, but it won’t fix ongoing structural or moisture issues.
Clear and Protect the Work Area
A renderer needs access to external walls, corners, paths and staging areas. The easier it is to move around the house, the better the finish is likely to be.
- Move pot plants, outdoor furniture, BBQs, toys and loose garden items away from the walls.
- Trim back shrubs, vines and overhanging plants that block access.
- Take down wall décor, house numbers, hose reels and other fixtures where possible.
- Give the crew a clear path for barrows, ladders, scaffolding and material storage.
It’s also a good idea to protect items that can’t be moved. Cover paving, decking, pools, taps and outdoor cabinetry with plastic sheeting or drop cloths. If there are delicate garden beds close to the house, ask the renderer what protection they prefer so everything stays tidy.
Dust and overspray can travel, especially on windy days, so keep windows shut and move vehicles away from the work zone if practical.
Deal With Repairs Before Rendering Starts
Rendering works best when the base is sound. Before the job begins, make sure any necessary repairs are completed. This may include replacing damaged bricks, repointing mortar joints, patching holes or fixing cracked sheet cladding.
Some services should only be handled by a licensed professional in Australia. Electrical work, gas fitting and regulated plumbing are not DIY jobs. If render prep exposes cables, meters, pipes or fittings, have the right tradesperson sort those items out before the renderer starts. That keeps the job compliant and avoids safety risks.
For older homes, check for issues around window frames, roof edges, damp-proof courses, downpipes and flashing. If water can get behind the wall after rendering, you may end up with more problems later. A renderer may also recommend removing old flaky paint or coatings so the new finish bonds properly.
What To Discuss With Your Renderer
Good communication before the job starts helps prevent surprises. Ask what prep they want done and what they will handle themselves. Some renderers prefer to do the cleaning, masking and priming; others may ask the homeowner to get the site ready first.
It’s worth confirming:
- which surfaces will be rendered
- what repairs must be completed beforehand
- whether old paint, sealers or efflorescence need removal
- how much access they need around the home
- what weather conditions may delay work
In many parts of Australia, render is sensitive to heat, wind and rain, so timing can matter. Your renderer may need to work around hot afternoons, coastal humidity or sudden showers depending on your location and the season.
Helpful Prep Checklist
| Task | Why It Matters | Who Usually Handles It |
|---|---|---|
| Clear outdoor areas | Gives the crew safe access and protects belongings | Homeowner |
| Trim plants and remove obstacles | Prevents damage and improves access to walls | Homeowner |
| Repair cracks and damaged substrate | Helps the render bond and look even | Homeowner and renderer |
| Arrange licensed trades for electrical, gas or plumbing issues | Keeps the job safe and compliant | Licensed professional |
| Confirm surface prep and weather plan | Reduces delays and confusion on site | Homeowner and renderer |
Final Checks Before The Crew Arrives
On the day before work starts, do one last walk-around. Make sure gates are unlocked, pets are secured, and access to water or power points is available if the renderer has requested it. If you have an alarm system or security cameras mounted on the outside walls, let the renderer know so nothing gets damaged or disconnected without warning.
If you plan to repaint the render later, ask what finish system they recommend. Australian paint suppliers like Dulux, Taubmans and British Paints offer exterior coatings that can suit newly rendered walls, but the render must be fully cured and properly prepared first.
Take the time to prepare well and you’ll make life easier for everyone on site. A tidy, accessible and well-checked home gives your renderer the best chance of delivering a clean, durable result.
For extra confidence, you can also compare advice and services through Trade Directory NZ.
If you’re ready to get started, find a qualified local renderer on Aussie Trade Directory and connect with local renderers.