
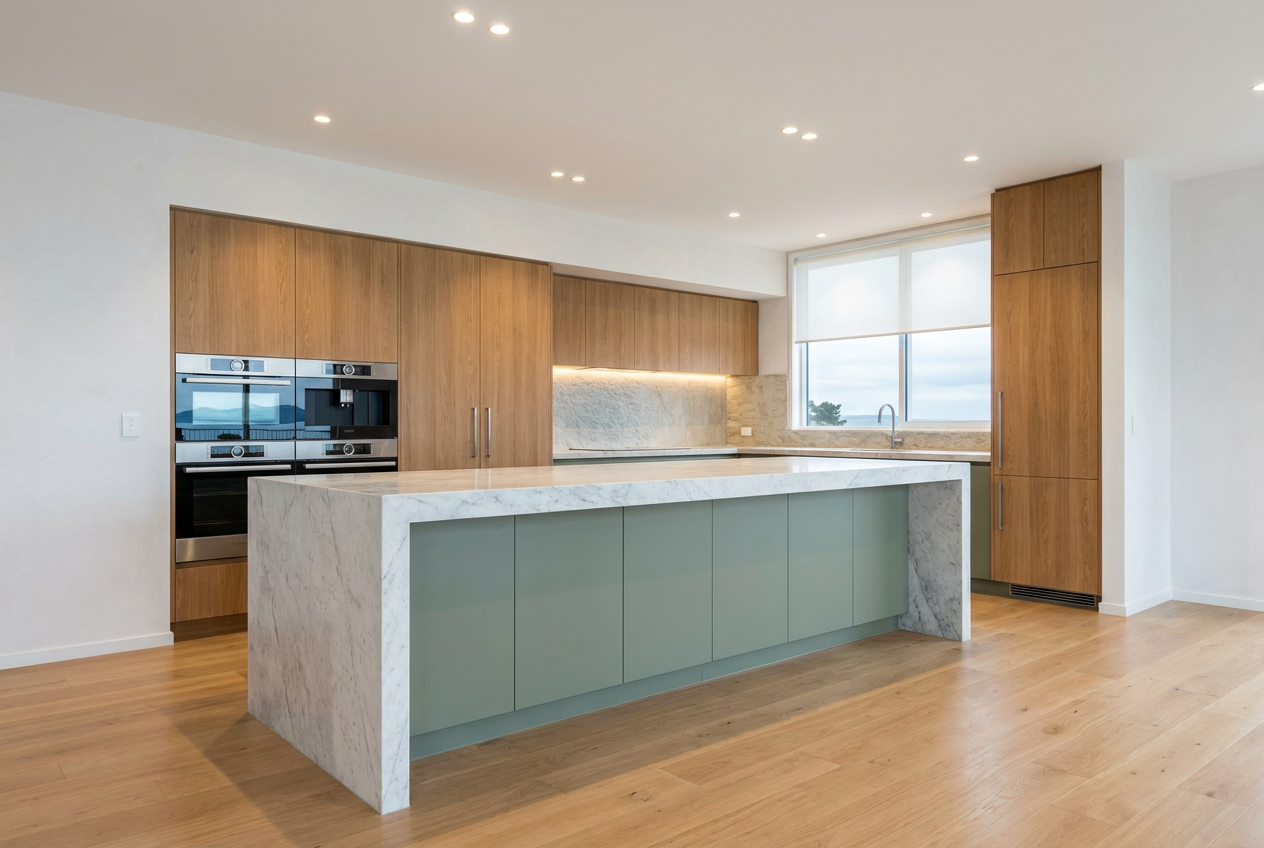
Repainting kitchen cupboards can transform a tired kitchen, but the finish only lasts if the preparation is done properly. In Australian homes, cupboards take a beating from heat, steam, cooking grease and constant handling, so paint choice and surface prep matter just as much as colour.
The good news is that many laminate, timber veneer and painted cupboard doors can be repainted successfully with the right approach. If you rush the prep or skip a durable topcoat, chips and peeling usually show up around handles, edges and high-touch areas first.
Start With the Right Surface Prep
The secret to a hard-wearing finish is removing anything that will stop the paint bonding. That means grease, soap residue and loose old paint all need to go. Begin by removing doors, drawers, handles and hinges if possible, then label everything so it goes back in the right spot.
Wash all surfaces with a sugar soap solution or a similar degreaser from Bunnings or Mitre 10, then rinse and let everything dry fully. Kitchen residue can be stubborn, especially near cooktops and rangehoods, so don’t rely on a quick wipe-down with water.
Next, sand the surfaces to create a key for the primer. For previously painted timber or veneer, a light sand is often enough if the finish is sound. For glossy laminate, you usually need a more thorough sand and a suitable bonding primer designed for tricky surfaces. If the old coating is flaking, scrape and sand until you reach a solid edge.
Choose the Right Primer and Paint
Not all paint systems are equal. For kitchen cupboards, choose a primer and topcoat that are designed for adhesion and durability. Dulux, Taubmans and British Paints all have ranges suitable for interior joinery or trim, and staff at Australian paint retailers can help match products to your cupboard material.
As a general rule:
- Use a bonding primer for laminate or melamine-style surfaces.
- Use a stain-blocking primer if timber tannins or old marks may bleed through.
- Use a hard-wearing enamel-style topcoat for better resistance to knocks and cleaning.
- Prefer satin or semi-gloss finishes, as they are easier to wipe down than flat paint.
Water-based enamel products are popular because they clean up more easily and usually have lower odour than older solvent-based options. Whatever system you choose, make sure the primer and topcoat are compatible and follow the manufacturer’s drying times. A cupboard door that is handled too early is more likely to chip at the edges.
How to Paint for a Durable Finish
Apply thin coats rather than trying to cover everything in one go. Thick coats can stay soft underneath, which makes them easier to mark and chip. Use a quality brush for edges and a foam roller or small microfiber roller on flat panels to help reduce brush marks.
Work in a dust-free area where possible. If you repaint in a garage or laundry, keep in mind the Australian climate can affect drying times. Warm, humid weather may slow curing, while very hot conditions can make paint flash off too quickly and leave lap marks. Aim for stable, moderate conditions and good ventilation.
Allow each coat to dry properly before sanding lightly between coats if the product recommends it. This helps the next coat grip and creates a smoother finish. Pay close attention to door edges, corners and areas around handles, as these are the first places to show wear.
Common Mistakes That Cause Chipping
- Skipping degreasing and sanding.
- Using interior wall paint instead of a suitable cupboard or enamel product.
- Painting over loose or damaged old finish.
- Reinstalling hardware before the paint has cured.
- Cleaning the new finish too aggressively in the first few weeks.
Best Way to Protect the Finish Long Term
Once the cupboards are painted, let them cure as long as the product directions recommend before heavy use. Curing is different from drying: paint may feel dry to touch but still be soft underneath. That soft stage is when chips and dents happen most easily.
After curing, clean cupboards with a soft cloth and mild detergent only. Avoid abrasive pads, harsh solvents and steam cleaners. If you want extra protection on high-touch areas, consider fitting soft-close hinges, new handles with smoother edges, or clear bumpers where doors meet frames.
If your cupboards are very damaged, badly swollen, or made from a surface that won’t hold paint well, replacement door fronts or professional refinishing may be a better option than a DIY repaint. For kitchens involving electrical, gas or plumbing changes around appliances, those trades must be handled by licensed professionals in line with state-based licensing rules and the National Construction Code. If in doubt, check with the relevant Fair Trading or consumer affairs body in your state or territory.
| Surface Type | Prep Approach | Best Primer | Finish Choice |
|---|---|---|---|
| Timber or veneer | Clean, sand, repair chips | Stain-blocking or adhesion primer | Satin or semi-gloss enamel |
| Laminate or melamine | Deep clean, scuff sand thoroughly | Bonding primer | Durable water-based enamel |
| Previously painted cupboards | Remove loose paint, sand smooth | Compatible primer if needed | Hard-wearing topcoat |
If you want more home improvement ideas, you can also check out Trade Directory NZ.
For a result that looks sharp and lasts, many homeowners choose a qualified painter who knows how to prep, prime and finish joinery properly. Find trusted local painters on Aussie Trade Directory and get your kitchen cupboards done right.