
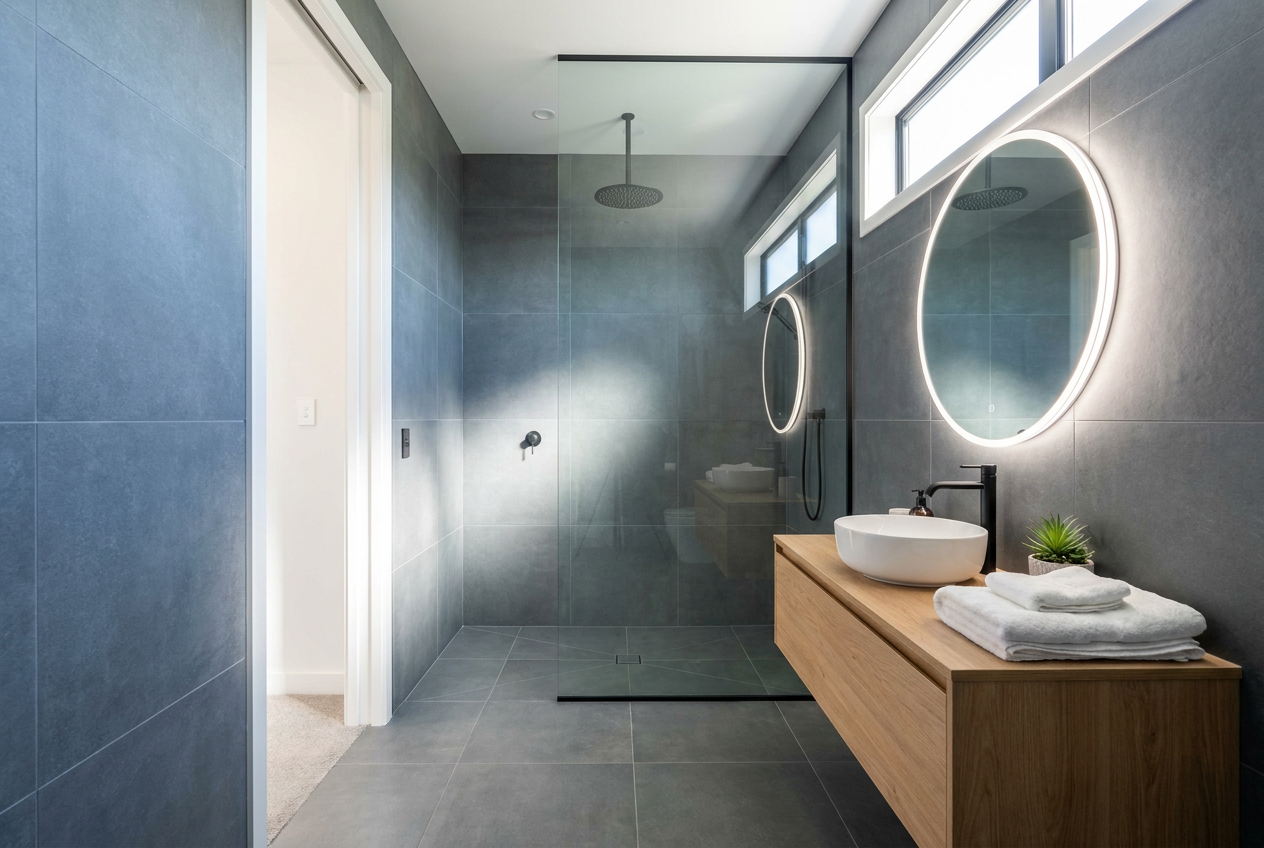
Replacing a shower head is one of the simplest bathroom jobs most Australian homeowners can tackle themselves. If your old shower head is clogged, leaking, spraying unevenly, or just not giving you the shower pressure you want, a new one can make a big difference without needing a full bathroom renovation.
In many cases, this is a straightforward DIY task that only involves unscrewing the old fitting and attaching the new one. The key is knowing where the line is between a basic swap and plumbing work that should be left to a licensed plumber under Australian rules.
Before You Start
Before buying a replacement, check how your current shower head connects. Most are a standard threaded fitment, but some wall arms, handheld units, or rail showers may need extra parts. You can find a wide range of suitable shower heads at Bunnings and Mitre 10, including water-saving models, rain shower heads, and handheld options.
It’s also worth checking your shower arm for corrosion, cracks, or movement. If the shower arm itself is loose, leaking at the wall, or looks damaged behind the rose, that may indicate a plumbing issue rather than a simple fixture swap.
What You’ll Need
- Replacement shower head
- Thread seal tape (plumber’s tape)
- Adjustable spanner or multigrips
- Soft cloth or towel
- Mild cleaner for any buildup
If the old shower head is tightly fitted, wrap the spanner jaws with a cloth to avoid scratching chrome or brass surfaces.
How To Replace The Shower Head
Start by turning off the shower and making sure there’s no water running. You do not usually need to turn off the main water supply for a standard shower head replacement, but if you notice unusual leaks or water escaping from the wall fitting, stop and get professional advice.
Unscrew the existing shower head by turning it anti-clockwise. If it is stuck, use the cloth-wrapped spanner carefully rather than forcing it. Once removed, clean the threaded end of the shower arm to remove old tape, mineral buildup, or grime.
Next, wrap fresh thread seal tape around the threads in the direction the fitting will tighten. Two or three neat wraps is usually enough for a secure seal. Then screw on the new shower head by hand until it is snug. Finish tightening gently with a spanner if needed, but do not overtighten, as that can damage the fitting or the shower arm.
Once fitted, turn on the water and check for leaks around the connection. If you see drips, tighten slightly or remove and reapply the thread seal tape. A properly fitted shower head should run smoothly without water escaping from the threaded joint.
Common Shower Head Types And What To Watch For
| Type | What It’s Good For | Things To Check |
|---|---|---|
| Standard fixed shower head | Simple replacement and easy maintenance | Thread size and compatibility with the shower arm |
| Handheld shower head | Better flexibility for families and cleaning | Bracket or rail compatibility, hose length, sealing washers |
| Rain shower head | Wider spray and a more luxurious feel | Arm strength, ceiling or wall clearance, water flow expectations |
| Water-saving shower head | Helps reduce water use without changing the whole shower | Flow pattern and whether it suits your household’s pressure |
Australian homes vary widely in water pressure and plumbing age, so it’s worth choosing a shower head that suits your setup rather than just the look. In hot, dry parts of the country, a water-saving model can be a sensible option, especially where household water use is a priority.
When A DIY Replacement Is Not Enough
A shower head swap is generally a low-risk maintenance task, but not every shower problem is solved by replacing the fitting. If the shower arm is damaged, the connection is leaking inside the wall, there is visible corrosion, or the pipework moves when you touch it, a licensed plumber should inspect it.
Plumbing work in Australia is regulated, and anything involving water services beyond a simple fixture change can fall under licensing requirements. If you’re unsure, check with your state or territory Fair Trading or consumer affairs body, or speak with a licensed tradesperson before proceeding.
You should also call a professional if you’re dealing with low pressure throughout the home, recurring blockages, or signs of water damage such as bubbling paint, soft plaster, or mould around the shower area. Those issues may point to a deeper fault that needs proper diagnosis.
Quick Maintenance Tips
- Wipe the shower head regularly to reduce mineral buildup.
- Soak removable parts in a gentle cleaner if water flow drops off.
- Check seals and tape whenever you remove and refit the unit.
- Choose fittings suited to Australian water conditions and your household needs.
If you’re updating more than one bathroom fixture, it can be a good time to check for other small maintenance jobs around the home as well. For bigger bathroom repairs, waterproofing concerns, or pipe-related issues, a licensed plumber is the right call.
If you’re weighing up a bathroom refresh or comparing trade help, you can also explore Building or renovating across the Tasman? Our sister site Trade Directory NZ covers the same topics for New Zealand homeowners.