
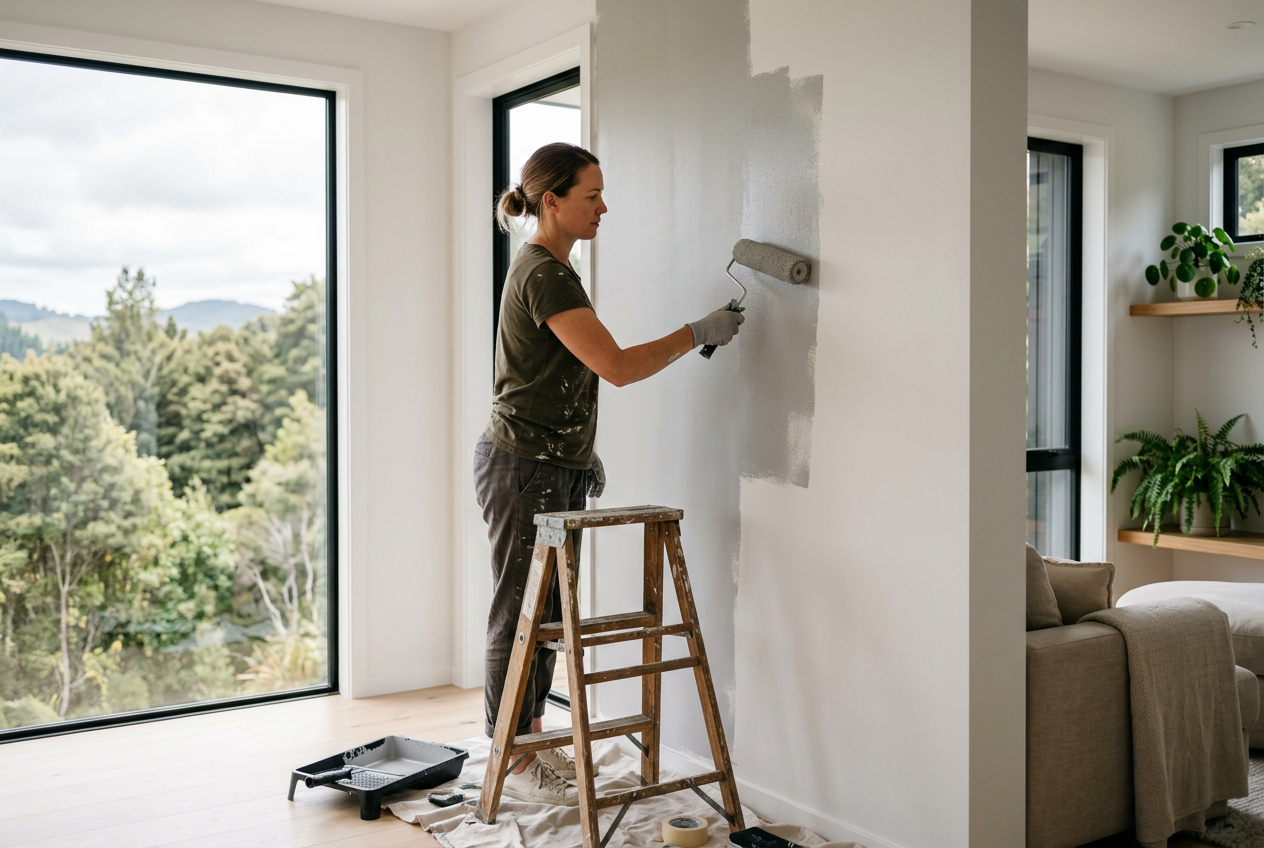
Paint roller marks can turn a fresh paint job into a patchy, streaky mess. The good news is that most roller marks are caused by technique, timing, or the wrong roller cover rather than a serious problem with the wall. With the right prep and a steady method, you can get a smoother finish on plasterboard, fibre cement and other common Australian wall surfaces.
This guide explains why roller marks happen, how to prevent them, and what to do if they have already dried on your walls.
Why Roller Marks Happen
Roller marks usually show up when paint is applied unevenly, starts drying before it is blended, or the roller is not suited to the surface. In Australian homes, this is often noticeable on light-filled walls where afternoon sun hits one section faster than another, especially in warmer or breezy conditions.
Common causes include:
- Using a roller cover that is too short or too cheap for the paint type
- Loading too much or too little paint on the roller
- Rolling over paint that has already started to skin over
- Applying paint in hot, dry or windy conditions
- Poor wall prep, such as dust, glossy patches or uneven patching
- Using low-quality paint or thinning it incorrectly
For most interior walls, a quality low-sheen wall paint from brands like Dulux, Taubmans or British Paints, paired with the right roller cover from Bunnings or Mitre 10, will make a noticeable difference.
How to Prevent Roller Marks Before You Start
The best way to stop roller marks is to set yourself up properly before the first coat goes on. That means preparing the wall, choosing the right roller, and working in manageable sections so the paint stays wet long enough to blend.
Choose the Right Roller Cover
Match the roller nap to the wall surface. On standard plasterboard walls, a medium nap is often suitable. On rougher surfaces such as textured walls, masonry or fibre cement, a longer nap may be needed to hold enough paint and reach the surface properly.
| Surface | Typical Roller Choice | Why It Helps |
|---|---|---|
| Smooth plasterboard | Short to medium nap | Leaves a finer finish and reduces stippling |
| Lightly textured walls | Medium nap | Holds enough paint for even coverage |
| Rough or porous surfaces | Longer nap | Covers dips and avoids dry rolling |
Prep the Wall Properly
Dust, filler and flaky old paint can all make roller marks more visible. Vacuum or wipe down walls, sand patched areas smooth, and spot-prime repairs before painting. If you are painting over fresh plasterboard, use a suitable sealer or primer recommended for Australian conditions and wall systems such as Gyprock or CSR products.
If you are repainting exterior walls or fibre cement cladding, make sure the surface is clean and dry. In coastal or high-humidity areas, check the paint label and follow the manufacturer’s guidance for temperature and drying conditions.
Work Wet Edges and Small Sections
Roller marks are often caused by the leading edge drying before the next pass blends into it. Work in sections about one or two metres wide, keeping a wet edge as you go. Roll from ceiling to floor, then lightly finish with long, even strokes in the same direction.
Avoid stopping in the middle of a wall unless you have planned a break at a natural line such as a corner, doorway or feature wall. If the weather is warm, you may need to move faster than expected.
Better Roller Technique for a Smoother Finish
Even good paint and a quality roller will leave marks if the technique is off. Aim for a steady, consistent method rather than trying to force coverage in one heavy coat.
- Load the roller evenly in the tray, then roll off excess paint
- Apply paint in a large “W” or “M” pattern, then fill in the gaps
- Use light pressure on the final passes
- Overlap each pass slightly while the paint is still wet
- Keep the roller moving to avoid lap lines
Do not overwork the paint. Rolling back and forth too much can create drag marks and a rough texture. It can also lift paint that has started to dry, especially with faster-setting products.
If you are using a water-based acrylic wall paint, follow the recoat times on the tin and avoid stretching them too far. In a hot Australian summer, a wall can dry faster than you expect, especially with fans or open windows increasing airflow.
How to Fix Roller Marks Already on the Wall
If the marks are still wet, the fix is simple: lightly re-roll the area with a properly loaded roller and blend the edges before the paint dries. If the paint has already dried, you will usually need to sand, prime if needed, and apply another coat.
For stubborn marks on a finished wall:
- Lightly sand the marked area with fine sandpaper
- Remove all dust
- Spot-prime if you have exposed patching or bare plaster
- Apply a full, even coat over the section or wall
If the problem is widespread, repainting the whole wall is often the best result. Touch-ups alone can flash or leave visible patchiness, especially in strong natural light.
When to Call a Professional
Most interior painting is a DIY task, but some jobs are better handled by a licensed tradesperson. If the work involves structural repairs, mould caused by a leak, or anything electrical, gas or plumbing-related, that part of the job must be done by a licensed professional in Australia under the relevant state or territory rules. Safe Work Australia guidance also applies if you are using ladders, working at height or handling solvents.
A professional painter can also help if you are dealing with very uneven walls, failed previous coatings, or hard-to-match finishes. Check that they are properly insured and, where required, licensed through your state’s Fair Trading or building regulator.
For readers comparing resources across the Tasman, you can also visit Building or renovating across the Tasman? Our sister site Trade Directory NZ covers the same topics for New Zealand homeowners.