
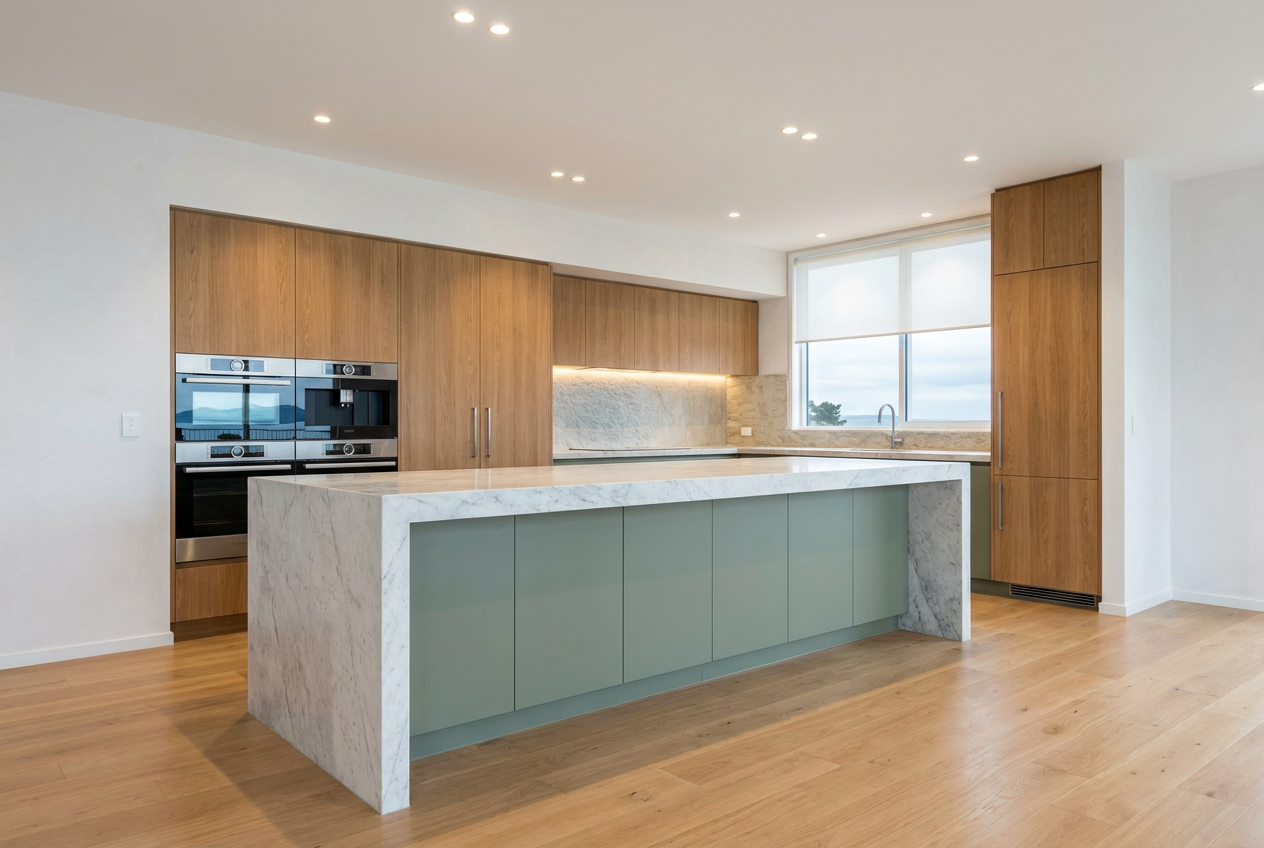
A tiled kitchen splashback is one of the best ways to protect your walls from cooking splashes while adding style to the room. If you’re handy and patient, it’s a very manageable DIY job for many Australian homeowners. The key is good prep, the right adhesive and grout, and careful cutting around power points, taps and cabinets.
Before you start, check whether your wall is suitable for tiling and whether any work involves electrical outlets, gas fittings or plumbing. In Australia, electrical and gas work must be done by a licensed professional, and you should follow the National Construction Code plus any relevant state or territory requirements. If you’re unsure about the wall surface, ask a licensed tiler or builder for advice.
What You’ll Need
Most kitchen splashbacks are tiled with ceramic, porcelain or glass tiles. You can find suitable products at Bunnings or Mitre 10, along with the tools needed for the job. For the backing surface, many homes use plasterboard, fibre cement sheeting or existing painted walls that have been properly prepared. Common Australian building products include Gyprock/CSR and James Hardie sheets, depending on the area and the wall condition.
Basic tools and materials
- Tiles
- Tile adhesive suitable for kitchens
- Grout and grout sealer, if needed
- Tile spacers
- Tile cutter or wet saw
- Notched trowel
- Spirit level and tape measure
- Tile trim for exposed edges
- Bucket, sponge and grout float
- Silicone sealant for movement joints
If your kitchen has a lot of sunlight or heat exposure, choose products that are suitable for Australian conditions, especially near cooktops and windows.
How To Tile The Splashback
Start by cleaning the wall thoroughly. Remove grease, dust and loose paint, then fill holes and sand glossy surfaces so the adhesive can bond properly. If the wall is damaged or very uneven, re-sheeting may be better than patching. Measure the area carefully and work out your tile layout before you apply any adhesive. It’s usually best to start from a level line so the tiles stay straight, especially if your benchtop or cabinets are not perfectly level.
Dry-lay a row of tiles on the benchtop or floor to check where cuts will land. Try to avoid tiny slivers at the edges if possible. Once you’re happy with the layout, mix or open your adhesive according to the manufacturer’s directions. Apply it with a notched trowel over a small section at a time, then press the tiles in place with a slight twisting motion. Use spacers to keep the grout joints even.
Work steadily across the wall, checking alignment with a level as you go. When you reach power points, switch the power off at the switchboard and do not remove, reposition or alter electrical fittings yourself unless you are a licensed electrician. Instead, tiles are normally cut around the cover plates so they sit neatly behind them, with final fitting handled by the licensed professional if needed.
For outside corners or exposed edges, use tile trim for a clean finish. Around benchtops, sinks and other junctions, leave the recommended gap and finish with flexible sealant rather than hard grout so the surface can move slightly without cracking.
Grouting And Finishing
Once the adhesive has cured, usually according to the product instructions, remove the spacers and mix your grout. Press it firmly into the joints with a grout float, working diagonally across the tiles. After a short set time, wipe away the excess with a damp sponge, rinsing it often so you don’t smear grout haze across the tiles.
When the grout has fully dried, buff the surface with a soft cloth. If your grout type calls for sealing, apply a suitable sealer to help protect against stains and moisture. Finish all movement joints with quality silicone, especially along the benchtop line, inside corners and around sinks.
DIY Or Hire A Tiler?
Some splashbacks are straightforward DIY jobs, but hiring a qualified tiler can save time and reduce the risk of costly mistakes. A professional is often the better choice if you have tricky layouts, large-format tiles, natural stone, uneven walls or lots of cut-outs.
| Task | DIY-Friendly? | Notes |
|---|---|---|
| Simple wall tiling on a flat surface | Yes | Best for smaller kitchens and standard tile sizes |
| Cutting around power points | Sometimes | Electrical fittings must be handled by a licensed electrician |
| Working around plumbing or gas fittings | No | Licensed trades only |
| Uneven walls or awkward layouts | Better left to a pro | Helps avoid lippage and poor finishes |
If your wall is already painted, use a primer or surface preparation product recommended by the manufacturer before tiling. Brands such as Dulux, Taubmans and British Paints offer preparation products that may suit the wall condition, but always follow the label and make sure the surface is compatible with tile adhesive.
Keep in mind Australia’s dry, hot summers and cooler, damp winters can affect drying times, so allow adhesives, grout and sealants to cure properly before heavy kitchen use. A rushed finish often leads to cracked joints or loose tiles later.
If you’re comparing home improvement advice across the Tasman, you can also visit Trade Directory NZ.
For a neat, long-lasting result, many homeowners choose to have the job completed by a qualified local tiler. Find experienced local tilers on Aussie Trade Directory and get your splashback finished properly.