
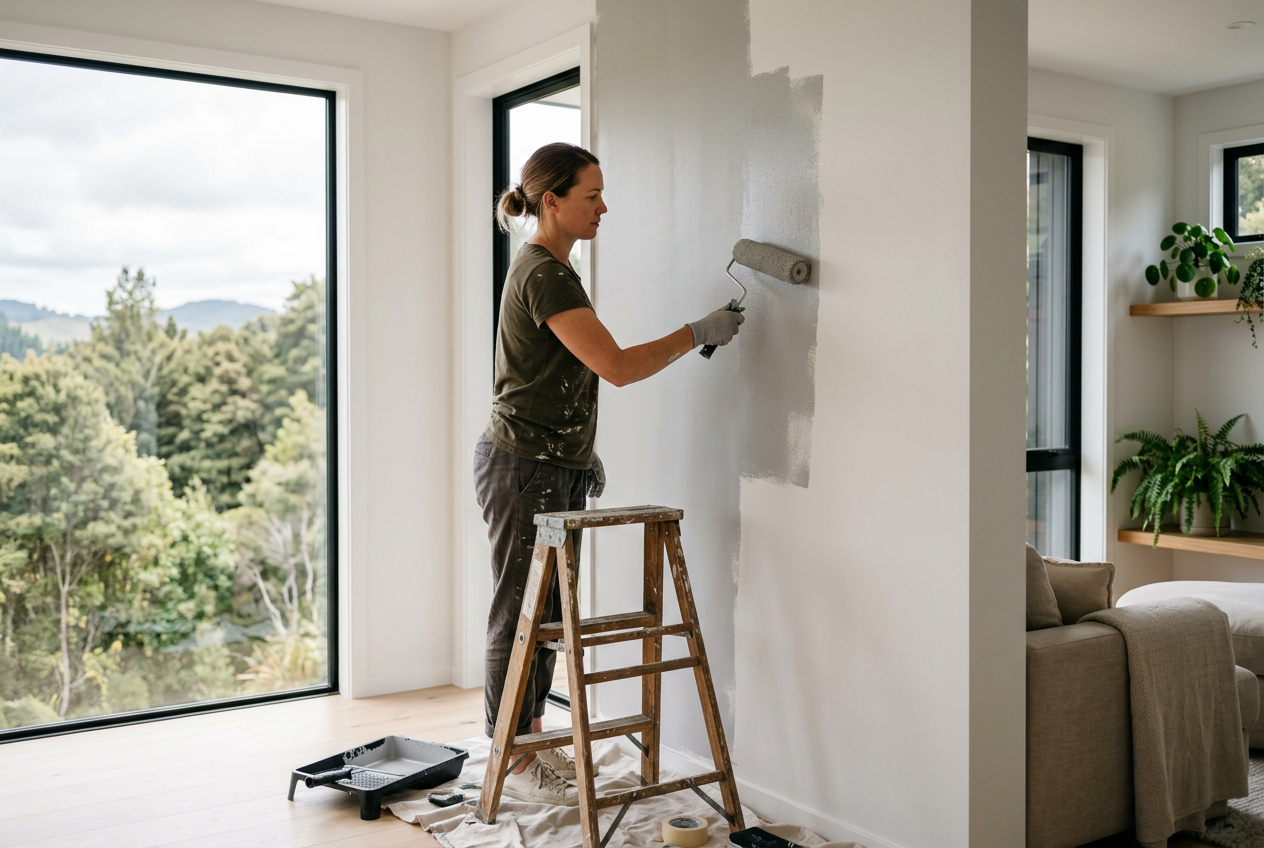
Paint drips and runs are common on Australian walls, ceilings and trim, especially when the job has been rushed or the weather has made the paint behave badly. The good news is that once the paint has dried, most drips can be fixed with a bit of patience and the right prep. Whether you’re using Dulux, Taubmans or British Paints, the repair process is usually the same.
This guide explains how to smooth out dried paint runs, when to sand and repaint, and how to avoid making the patch stand out in our often hot, dry or humid conditions.
What Causes Paint Drips and Runs?
Paint drips and runs happen when too much paint is applied or the paint doesn’t level properly before it dries. Common causes include:
- Applying coats too thickly
- Using the wrong roller nap or brush size
- Painting in direct sun, strong wind or high humidity
- Not stirring paint properly
- Working with a surface that hasn’t been cleaned or primed well
In Australia, weather matters a lot. A wall that is fine to paint in the morning may become difficult to work with by the afternoon heat, especially on north-facing exteriors. For exterior jobs on fibro, render, fibre cement, timber or Colorbond surfaces, always follow the coating manufacturer’s instructions and the National Construction Code where relevant.
How to Fix Dried Paint Drips Step by Step
If the paint has already dried, you won’t be able to simply brush it out. You’ll need to level the surface first, then repaint it carefully.
1. Check the drip and the surrounding area
Look closely at the run. If it is only slight, a light sand may be enough. If it is thick or lumpy, you may need to scrape it back first. Make sure the surrounding paint is fully dry before you start.
2. Scrape off high spots
Use a clean paint scraper or putty knife to gently remove the raised edge of the drip. Keep the blade flat so you don’t gouge the surface. On plasterboard walls, be careful not to tear the paper face. If the wall is damaged, patching compound may be needed before repainting.
3. Sand the area smooth
Once the high spot is reduced, sand the area with fine-grit sandpaper or a sanding sponge. Feather the edges so the repair blends into the wall. For glossy trims or skirting boards, a slightly finer finish may be needed.
4. Clean off dust
Wipe away sanding dust with a damp cloth or vacuum brush attachment. Dust left behind can stop the new paint from bonding properly.
5. Recoat carefully
Apply a thin, even coat of paint, then let it dry fully before deciding if a second coat is needed. Use a good quality brush or roller from a local retailer such as Bunnings or Mitre 10, and load it lightly. It is better to do two light coats than one heavy one.
Tools and Materials That Help
Most small drip repairs can be done with basic gear. Here’s a simple comparison of what you may need:
| Item | Best For | Notes |
|---|---|---|
| Paint scraper or putty knife | Removing raised paint ridges | Use gently to avoid damaging plasterboard or timber |
| Fine-grit sandpaper or sanding sponge | Smoothing repaired areas | Ideal for blending edges before repainting |
| Primer or undercoat | Repairs that have exposed bare plaster, timber or metal | Use a product suited to the surface type |
| Brush or roller | Recoating the patch | Choose the same style as the original finish where possible |
If you’re repairing an exterior feature such as timber fascia, rendered walls or fibre cement cladding from James Hardie, choose products designed for Australian conditions and follow the label instructions closely.
How to Blend the Repair So It Doesn’t Stand Out
The hardest part is often making the fixed area match the rest of the surface. To help it blend:
- Feather the sanded edges well
- Repaint slightly wider than the repaired spot
- Use the same paint sheen, such as matt, low sheen or semi-gloss
- Keep your roller or brush strokes consistent
- Paint in good light so you can spot lap marks early
If the original paint is old or has faded from strong sun, a patch may still be visible. In that case, repainting the full wall, door or trim section is often the neatest option.
When to Call a Professional Painter
Some paint runs are a sign that the whole job needs attention, not just a small touch-up. Consider calling a licensed and insured painter if:
- The drips are on high ceilings, stairwells or hard-to-reach areas
- There are many runs across multiple walls or rooms
- The surface is stained, peeling or badly patched
- You need a clean finish on feature doors, trims or exterior cladding
- You suspect an issue with moisture, mould or poor substrate preparation
Painting itself is generally not a licensed trade in the same way as electrical, gas or certain plumbing work, but some building repair tasks around the painting job may be restricted or require qualified trades. If there is water damage, damaged wiring, plumbing leaks or structural defects, those issues must be handled by the appropriate licensed professional under state and territory rules.
Safe Work Australia guidance also matters if you are using ladders, working at heights or sanding old coatings. Take care with dust, ventilation and personal protective equipment, especially in older homes where the existing coating may need testing before sanding.
If you want more practical home improvement help, you can also compare advice and services through Building or renovating across the Tasman? Our sister site Trade Directory NZ covers the same topics for New Zealand homeowners.