
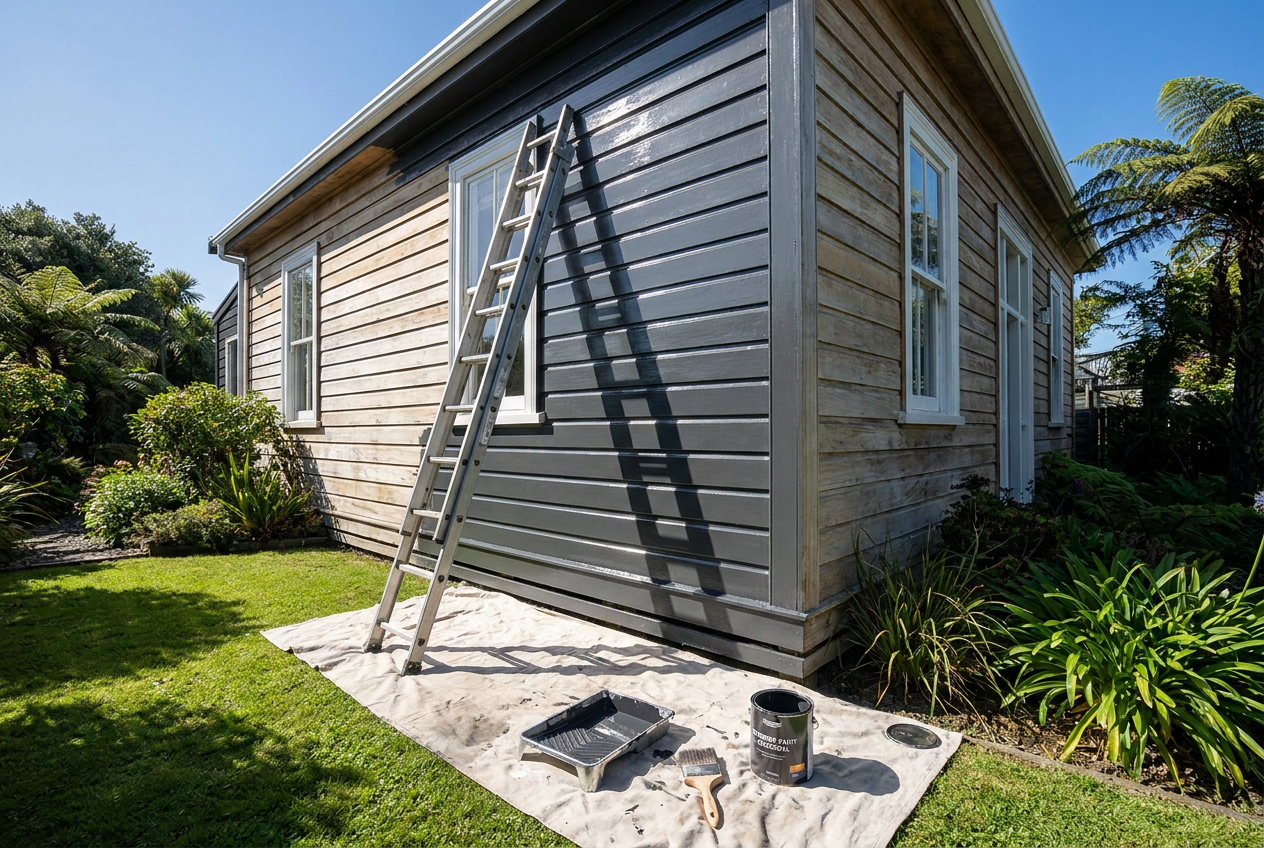
Painting bare exterior timber is one of the best ways to protect your home and improve street appeal, but the job needs to be done properly from the start. Unpainted timber is porous, so if you rush straight in with a finish coat, the paint can soak in unevenly, peel early, or leave the grain looking patchy.
The good news is that with the right preparation, primer and exterior paint, you can get a durable result suited to Australian conditions. Whether you’re working on фасcia boards, weatherboards, windows, trims or a new timber feature, the same basic approach applies: clean, dry, sand, prime, then paint.
Check The Timber Before You Start
Before opening a paint tin, inspect the timber carefully. It should be dry, sound and free from dust, dirt, oil, mould, sap and loose fibres. If the timber has just been installed, check the manufacturer’s advice or builder’s instructions for any required drying or acclimatisation time before coating. Painting too soon over damp timber can trap moisture and cause premature failure.
Look for knots, gum pockets, splits, raised grain and nail holes. These defects are common in exterior timber and should be dealt with before painting. If there are signs of rot, termite damage or movement, fix the cause first. Painting over a damaged surface will not solve the problem.
For older homes, also be careful around lead paint if the area may have been coated previously. If you suspect lead, follow Safe Work Australia guidance and use proper containment and cleanup methods.
Prepare The Surface Properly
Preparation is the key to a long-lasting finish. Start by washing the timber with a mild detergent solution to remove grime and contaminants. Rinse well and allow it to dry completely. On exterior jobs, a clean surface can make a big difference to adhesion.
Next, sand the timber lightly to smooth raised grain and open the surface for primer. A medium to fine sandpaper is usually enough for raw timber. Remove all dust with a vacuum, brush or a clean cloth.
If there are nail holes, small cracks or minor gaps, use an exterior-grade wood filler or putty that is suitable for painted timber. Let it cure fully, then sand it back flush. For larger joins or movement-prone gaps, use a flexible exterior caulk designed for painting.
Choose The Right Primer And Paint
Never skip primer on bare exterior timber. Primer seals the wood, improves adhesion and helps the topcoat look even. For most raw timber, a quality exterior timber primer from Dulux, Taubmans or British Paints is a sensible choice. If the timber contains tannins or knots, choose a stain-blocking or tannin-resistant primer where recommended by the manufacturer.
For the topcoat, use an exterior 100% acrylic paint suitable for Australian weather. Satin or low-sheen finishes are often popular for trim and timber cladding because they hide minor surface flaws and cope well outdoors. For high-wear items like doors or window trims, check the product data sheet for suitability.
| Stage | What It Does | Why It Matters |
|---|---|---|
| Cleaning | Removes dirt, mould and residue | Helps paint stick properly |
| Sanding | Smooths the grain and edges | Improves finish quality |
| Priming | Seals bare timber | Reduces patchiness and early failure |
| Topcoating | Provides colour and weather protection | Delivers the finished look |
How To Paint Bare Exterior Timber
Work in dry, mild weather and avoid painting in direct hot sun, strong winds or when rain is likely. Australian heat can make paint flash-dry too quickly, leaving brush marks and poor levelling. Early morning or late afternoon may be better than the middle of the day, depending on the season and your location.
Apply primer first, brushing it well into the grain and any cut ends. End grain absorbs a lot of product, so give these areas extra attention. Follow the drying time on the label before applying topcoat.
Once primed, apply the first coat of exterior paint with a good-quality brush, roller or sprayer, depending on the surface. Brushing is often best for detailed trims and edges because it works the paint into the timber. Keep the coat even and avoid overloading the surface.
Allow the first coat to dry completely, then apply a second coat for coverage and durability. Some timber or colour changes may need a third coat for the best result. Don’t forget to paint cut ends, recesses and corners, as these are often the first areas to fail outdoors.
Common Mistakes To Avoid
- Painting timber that is still damp
- Skipping primer on bare wood
- Using interior paint outdoors
- Painting in extreme heat or just before wet weather
- Ignoring knots, cracks or gaps before coating
- Failing to follow the manufacturer’s drying times between coats
If you are painting near power points, external lighting or any other electrical fittings, turn off power to the area where required and avoid working on wiring yourself. Electrical work in Australia must be carried out by a licensed electrician. The same applies to gas and certain plumbing tasks.
When To Call A Professional
DIY painting is manageable for many homeowners, but a professional painter can be the better choice for hard-to-reach areas, detailed trim, multi-storey homes or weathered timber that needs repair work first. A licensed and insured painter will also understand the right primers, coatings and prep methods for different timber types and exposure levels.
It’s also worth using a professional if you’re unsure whether the timber needs sealing, repairs or special treatment before painting. In many cases, the quality of the preparation matters more than the paint itself.
If you’re comparing options, a quick look at Trade Directory NZ can be useful for understanding how similar trade services are presented across the Tasman.
For a neat, durable finish on raw exterior timber, the safest approach is simple: prepare well, prime properly and use a quality exterior paint suited to Australian conditions. If you’d rather hand the job over, find trusted local painters on Aussie Trade Directory and get it done right the first time.