
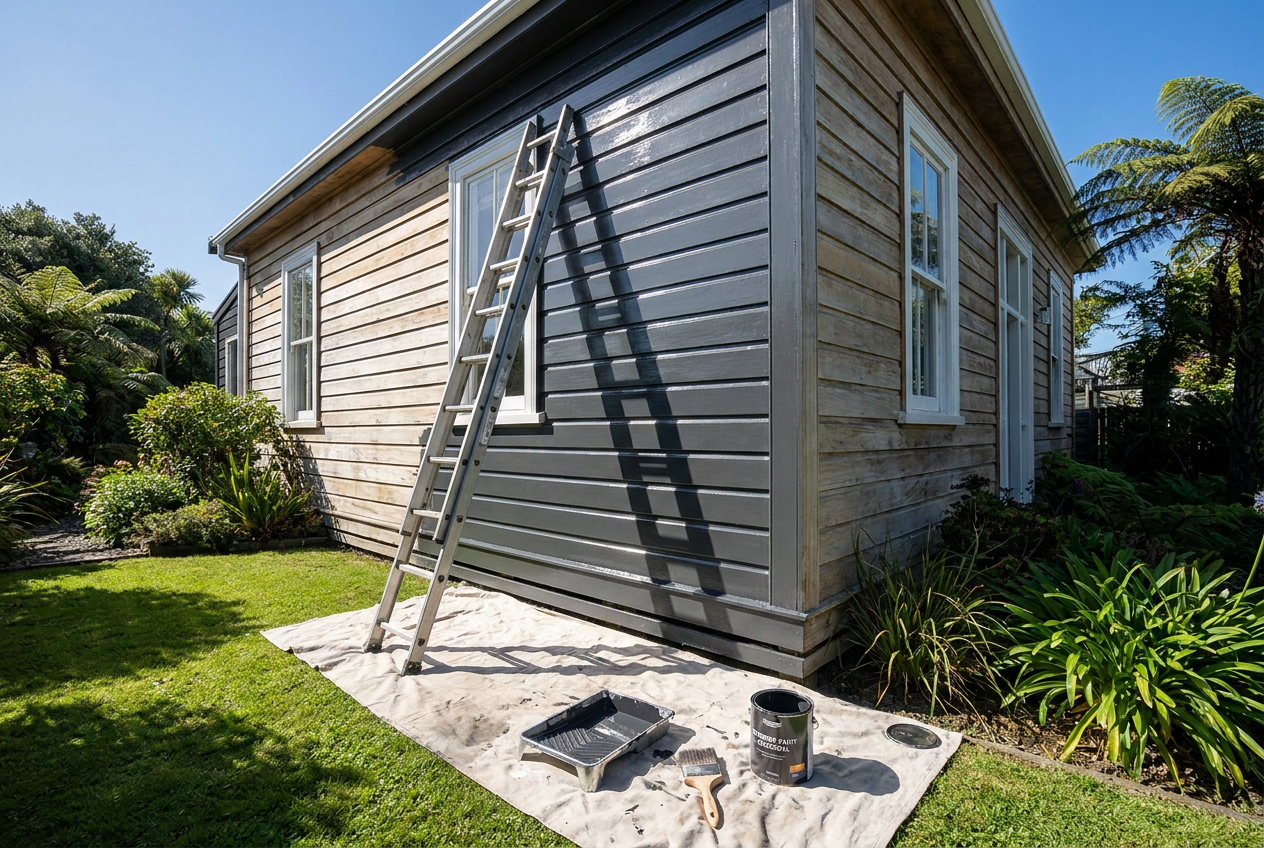
Fresh paint can make weatherboards look sharp again, but the finish will only last if the prep is done properly. In Australia’s harsh sun, coastal salt, sudden downpours and humid conditions, exterior timber and fibre cement weatherboards need careful cleaning, repairs and priming before you open the paint tin. Good prep helps paint bond better, look smoother and resist peeling, blistering and early failure.
Start With A Proper Safety And Condition Check
Before doing anything, inspect the walls on a dry day. Look for cracked boards, popped nails, rotten timber, mould, flaking paint, gaps around windows and signs of water getting in. If the home is older, assume some coatings may contain lead. Don’t sand, heat or dry-scrape suspect paint without taking proper precautions. Safe Work Australia guidance recommends avoiding dust exposure, using suitable PPE and containing the work area.
Check whether the cladding is timber, fibre cement or another material. Most weatherboard houses in Australia are timber, but some are fibre cement products from manufacturers such as James Hardie or CSR Gyprock systems. The prep steps are similar, but you should always follow the coating and substrate instructions on the paint label or manufacturer site. If you find structural rot, persistent leaks or major movement, get a licensed builder or carpenter to assess it before painting.
Clean, Scrape And Sand Properly
Exterior paint sticks best to a clean, sound surface. Start by washing down the weatherboards with mild detergent and water. On mouldy or grimy areas, use an exterior cleaner suitable for painted surfaces. Rinse well and let everything dry fully. In humid parts of Australia, that may take longer than expected, so don’t rush the next step.
Once dry, scrape off all loose or curling paint with a paint scraper. For stubborn edges, a carbide scraper can help, but avoid gouging timber. Then sand the remaining edges smooth so the transition between old and sound paint is feathered, not abrupt. A random orbital sander is useful on larger areas, but hand sanding is often better near mouldings, trims and corners.
After sanding, remove dust thoroughly with a soft brush, vacuum and damp cloth. Dust left on the surface is one of the most common reasons new paint fails early.
Repair Damage Before You Prime
Paint will not hide damaged weatherboards. Replace rotten boards rather than filling soft timber, because patching over decay only masks the problem. For small dents and shallow defects in timber, an exterior-grade filler or repair compound may be suitable once the area is dry and stable. On fibre cement, use a compatible patching product recommended by the manufacturer.
Re-fix any loose boards or nails, and check that fasteners are corrosion-resistant. In coastal or high-rainfall areas, rusting nails can stain paint and weaken the fixing over time. Fill nail holes, gaps and small cracks with an exterior flexible filler, then sand it flush once cured. Leave larger movement joints and seal them with a paintable exterior sealant where appropriate.
| Prep Task | Why It Matters | Watch Outs |
|---|---|---|
| Wash down surfaces | Removes dirt, salt and chalking | Let surfaces dry fully before priming |
| Scrape loose paint | Stops new coating lifting | Avoid damaging sound timber |
| Sand edges smooth | Improves finish and adhesion | Control dust, especially if lead paint is possible |
| Repair rot and gaps | Protects the substrate and prevents leaks | Replace badly damaged boards rather than filling them |
| Prime bare areas | Seals the surface and evens out absorption | Use the correct primer for the material |
Prime Bare Timber And Problem Areas
Primer is essential wherever bare timber, patched spots or exposed fibre cement are showing. Use a primer suited to the substrate and the topcoat system you plan to use, such as Dulux, Taubmans or British Paints exterior ranges. Spot-prime repairs first, then apply a full coat if the whole wall has been stripped back or if the existing coating is patchy and porous.
For timber weatherboards, a quality exterior primer helps seal the grain and reduce uneven absorption. For fibre cement, use the primer recommended on the paint system so the finish bonds properly. If there are tannin-prone timber areas, knots or stains, choose a stain-blocking product where needed. Follow the recoat time on the label and avoid painting in direct hot sun, on windy days or when rain is likely.
Choose The Right Conditions And Tools
Exterior painting in Australia is all about timing. Mild, dry weather is ideal. Avoid painting on very hot surfaces, because paint can dry too quickly and leave lap marks or poor adhesion. Early morning shade and a stable forecast are your friends. If you’re painting near the coast, rinse salt residue from the walls first and give the house a longer drying window.
Use quality brushes, rollers and extension poles suited to exterior work. A brush is best for cutting in around trims, while a roller helps cover wider board faces evenly. Keep drop sheets in place, mask off windows and fittings, and wear suitable PPE including eye protection, gloves and a dust mask or respirator when sanding.
When To Call A Professional
If the job involves significant height, unstable access, extensive rot, lead paint concerns or water ingress, it is worth calling in a professional painter or builder. In Australia, any electrical work around external lights, power points or damaged wiring must be done by a licensed electrician. Plumbing issues, gas work or stormwater repairs linked to leaks also need licensed trades where applicable. For building or repair work, check the relevant state licensing or Fair Trading requirements before you start.
A careful prep job is the difference between paint that lasts and paint that fails early. If you want a second opinion or help with the hard parts, it can pay to compare experienced trades through Trade Directory NZ.
Ready to get your weatherboards looking their best? Find qualified local painters on Aussie Trade Directory and get the job prepped and painted properly.