
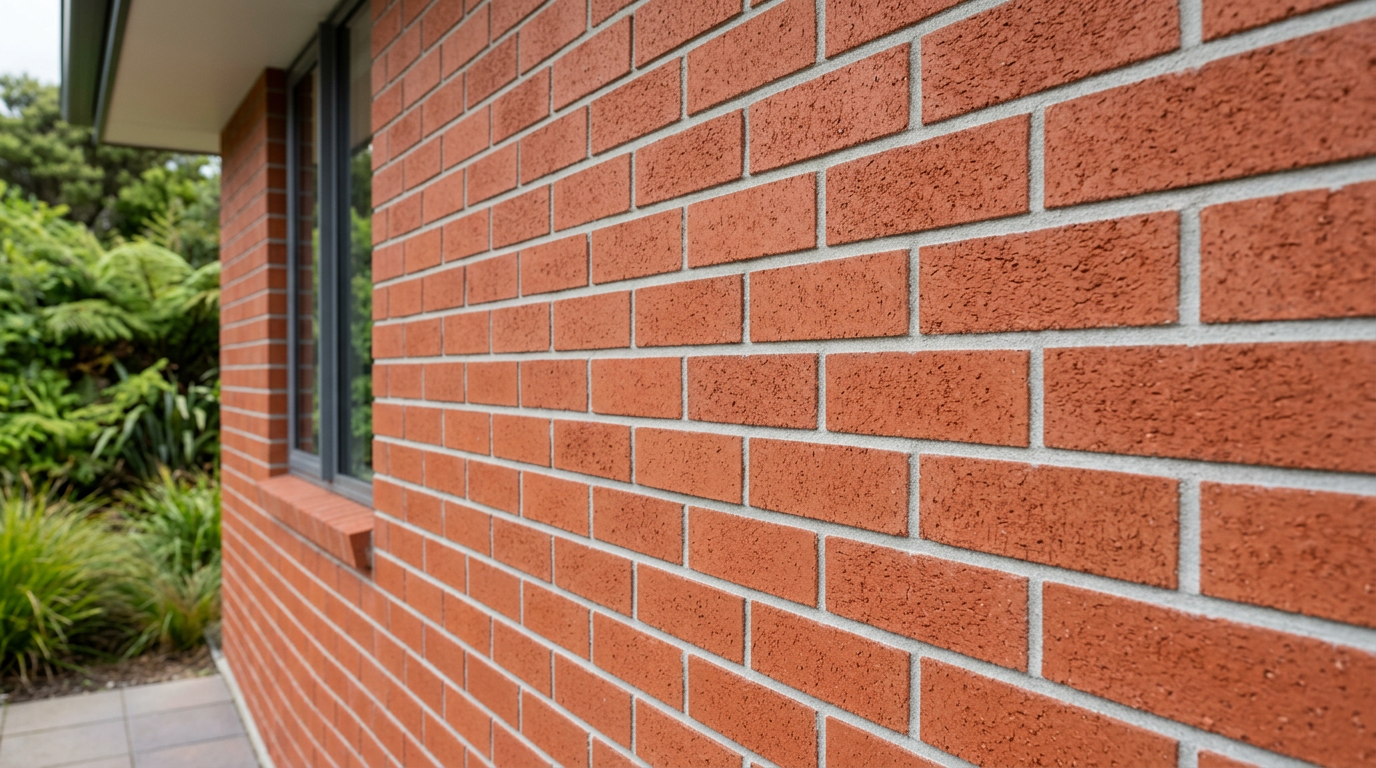
Cracked or crumbling mortar is common in Australian brick homes, especially where walls cop heat, driving rain, salty coastal air, or years of movement. The good news is that repointing can restore strength, help keep water out, and improve the look of your brickwork. Done properly, it can also extend the life of your wall for years.
This guide explains how to spot mortar problems, when you can handle minor repairs yourself, and when it is smarter to call in a qualified bricklayer.
What Causes Mortar To Fail?
Mortar is the material between bricks or blocks. Over time it can crack, powder away, or fall out altogether. Common causes in Australia include:
- Age and weathering from sun, rain, and temperature swings
- Ground movement or settlement
- Moisture entering through damaged flashing, gutters, or roof leaks
- Incorrect previous repairs using overly hard mortar or the wrong mix
- Coastal exposure, which can speed up deterioration
Not every crack means a major structural issue, but loose or missing mortar should not be ignored. If you can rake it out with a key or screwdriver, it is usually well past the point of simple patching.
When Repointing Is Suitable
Repointing is the process of removing deteriorated mortar and replacing it with fresh mortar. It is suitable when the bricks themselves are sound and the issue is mainly in the joints. It is less suitable if the wall has serious cracking, bulging, damp stains, or bricks that are loose or spalling.
Before you start, check whether the problem is localised or widespread. A small section around a window, chimney, or exposed wall may be manageable. Large areas, heritage brickwork, or walls with structural movement are best left to a licensed and experienced bricklayer.
How To Repair Cracked Or Crumbling Mortar
For small, non-structural areas, the basic process is straightforward, but it needs care and patience.
1. Remove Damaged Mortar
Use a mortar rake, plugging chisel, or similar hand tool to remove loose mortar to a consistent depth. Avoid chiselling so hard that you chip the brick edges. A vacuum or stiff brush helps clear dust and debris from the joints.
2. Dampen The Joints
Lightly wet the brickwork before applying new mortar. This stops dry bricks from sucking moisture out of the mix too quickly, which can weaken the bond. Do not saturate the wall.
3. Mix The Mortar Correctly
Choose a mortar suitable for the age and type of brickwork. For older homes, a softer mortar is often needed so the bricks are not damaged. If you are unsure, ask at Bunnings or Mitre 10 and match the mix to the original wall as closely as possible. Pre-mixed mortar products can be convenient for small repairs, while larger jobs may need a custom mix prepared by a tradesperson.
4. Pack In The New Mortar
Use a pointing trowel or hawk to press mortar firmly into the joint in layers, making sure there are no gaps. Fill the joints fully and keep the finish tidy. A properly packed joint is more important than making it look perfect straight away.
5. Finish The Joints
Once the mortar starts to firm up, shape the joint to match the existing profile. That might be flush, recessed, or slightly concave. Matching the original finish helps the repair blend in and sheds water correctly.
6. Cure The Repair
Keep the area protected from hot sun, wind, and heavy rain while it cures. In many parts of Australia, mortar can dry too quickly if left exposed, so light misting and temporary shading may help on hot days. Follow the product instructions carefully.
Tools And Materials You May Need
| Item | Purpose | DIY Or Pro? |
|---|---|---|
| Mortar rake or plugging chisel | Removes old, loose mortar | DIY for small jobs |
| Pointing trowel and hawk | Packs and finishes mortar | DIY for small jobs |
| Stiff brush and vacuum | Cleans joints before repointing | DIY |
| Suitable mortar mix | Replaces failed joints | DIY or pro, depending on wall |
| Dust mask, gloves, eye protection | Helps protect against dust and flying debris | Essential |
When To Call A Licensed Bricklayer
Call a professional if the wall is load-bearing, the mortar loss is extensive, or there are signs the brickwork has moved. You should also seek help if the wall is high, hard to access, on a chimney, or part of a heritage property. In those cases, a skilled bricklayer can assess the cause, choose the correct mortar, and complete the work safely.
Also keep in mind that some related building, plumbing, electrical, and gas work is legally restricted in Australia and must be carried out by a licensed professional. If you discover leaks, failing flashings, or damaged services while inspecting the wall, get the relevant licensed tradesperson involved. Safe Work Australia guidance also recommends proper dust control and safe working methods whenever cutting, grinding, or removing masonry.
Tips For Better Long-Term Results
- Do not use mortar that is harder than the original brickwork
- Check and fix sources of water entry, such as gutters and downpipes
- Match the joint profile to the existing wall for a neat finish
- Avoid painting or sealing the wall until the mortar has fully cured
- Inspect exposed walls regularly, especially after storm season
If your home is rendered, painted with products from Dulux, Taubmans, or British Paints, or fitted with modern cladding from James Hardie or Colorbond by BlueScope, the repair approach may differ depending on how the wall is built. Always check the wall type before starting.
For a wider view of repair standards and homeowner guidance, it can also help to compare information with Trade Directory NZ.
If the mortar is more than a small patch job, or you want the repair to match your home properly, find a qualified local bricklayer through local bricklayers on Aussie Trade Directory.