
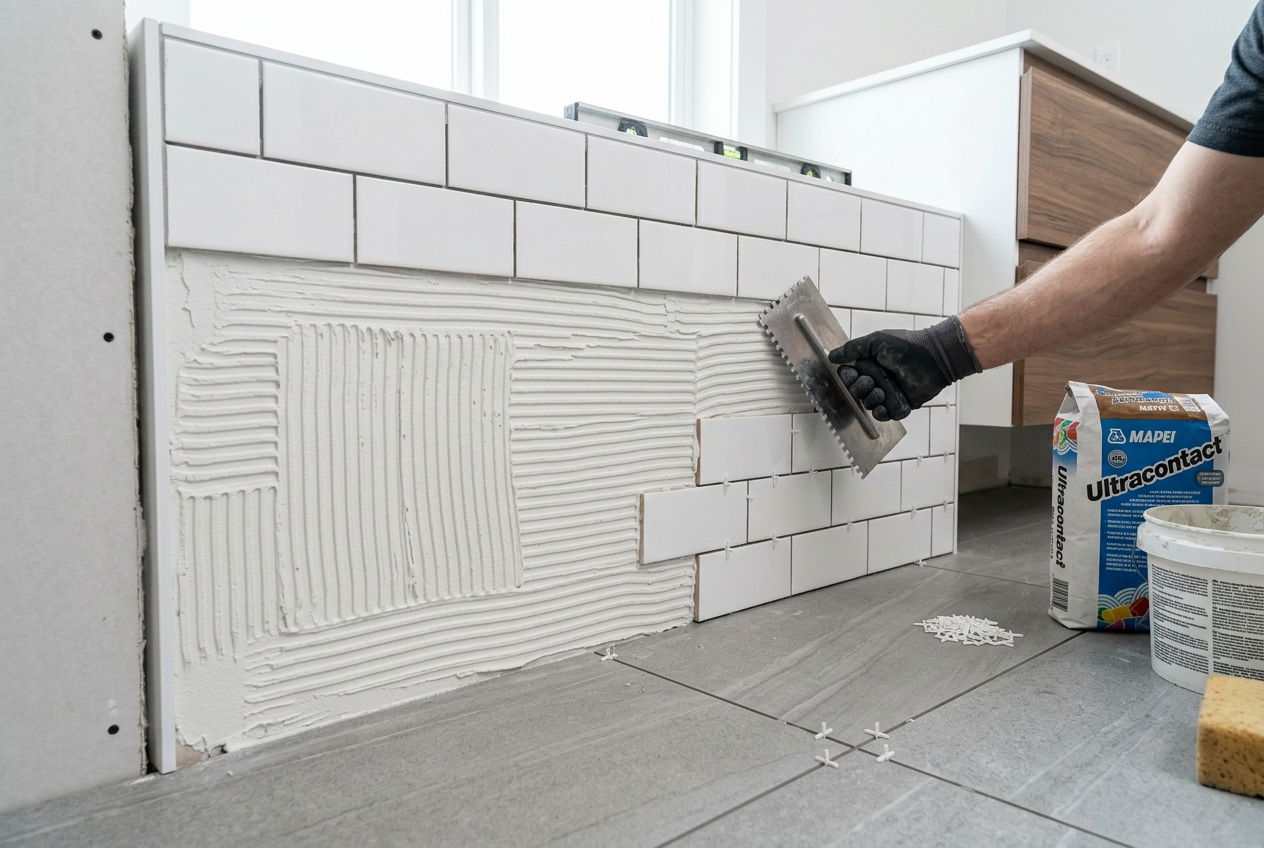
Sealing grout and natural stone tiles is one of the easiest ways to help protect your tiled surfaces from stains, moisture and everyday wear. In Australian homes, where bathrooms, kitchens, laundries and outdoor areas can cop a fair bit of humidity, spills and dust, a good seal can make ongoing cleaning much simpler.
The key is knowing what needs sealing, what does not, and choosing a product that suits your tile type. Grout is usually porous and benefits from sealing. Natural stone often needs sealing too, but the right sealer depends on whether your stone is marble, travertine, limestone, slate or sandstone.
Why Seal Grout And Natural Stone?
Grout lines are more porous than tiles, so they can absorb water, grime, soap scum and kitchen splashes. Over time, that can lead to discolouration and mould growth in damp areas. Natural stone is also porous in many cases, which means stains can soak in rather than sit on the surface.
Sealing helps by creating a protective barrier that reduces absorption. It does not make the surface waterproof, and it does not replace good ventilation or regular cleaning, but it can make a noticeable difference to how long your tiles stay looking fresh.
Common Areas That Benefit From Sealing
- Bathroom floors and shower walls
- Kitchen splashbacks and benchtop surrounds
- Laundry floors and splash zones
- Entryways and high-traffic tiled areas
- Outdoor tiled areas exposed to rain and dirt
Choosing The Right Sealer
Not all sealers work the same way. In Australia, you’ll usually find sealers at Bunnings, Mitre 10 and specialist tile suppliers. Read the label carefully and match the product to the surface.
| Surface | Typical Sealer Type | Notes |
|---|---|---|
| Cement grout | Penetrating sealer | Helps repel water and stains without changing the look much. |
| Ceramic or porcelain tile | Usually no sealer needed | Most glazed tiles do not need sealing, but grout between them may. |
| Marble, limestone, travertine | Penetrating stone sealer | Often needs sealing to reduce staining and etching risk. |
| Slate, sandstone, some mixed natural stone | Stone-specific sealer | Check whether you want a natural finish or a colour-enhancing finish. |
If you are unsure, test the sealer on a hidden spot first. Some stone sealers can slightly deepen colour or change the finish, which may be desirable on some surfaces but not on others.
How To Seal Grout And Natural Stone Tiles
Before you start, make sure the surface is clean, dry and free of old wax, soap residue and mould. If the grout is damaged or crumbling, repair it first. If there is a plumbing leak, that should be fixed by a licensed plumber before sealing. Electrical work near wet areas must also be done by a licensed professional where applicable.
What You’ll Need
- Suitable grout or stone sealer
- Clean cloths or sponge applicator
- Small brush or foam brush for grout lines
- Mop or vacuum
- Gloves and good ventilation
Basic Steps
- Clean the surface thoroughly and let it dry completely.
- Mask off nearby surfaces if needed.
- Apply sealer evenly to grout lines or stone using the applicator recommended on the label.
- Work in small sections so the sealer does not dry unevenly.
- Wipe off any excess from the tile face before it dries.
- Allow the sealer to cure for the time stated on the product instructions.
- Apply a second coat if the label recommends it, especially on porous stone or grout.
Avoid walking on the area or getting it wet until the sealer has fully cured. In showers and outdoor spaces, poor curing can weaken the result, especially in cooler or very humid conditions.
Helpful Tips For Australian Homes
Australia’s climate can be tough on tiled surfaces. In coastal areas, salt and moisture can be an issue. In hotter regions, dust and grit can quickly build up on floors. In bathrooms, steam from daily use can encourage mould if surfaces are not properly ventilated.
For best results, seal when the weather is dry and temperatures are within the product’s recommended range. If you are sealing an outdoor area, avoid wet or windy days. For indoor areas, open windows and use exhaust fans where possible to improve drying and reduce fumes.
It also pays to use pH-neutral cleaners for ongoing maintenance. Harsh acids or abrasive cleaners can break down some sealers and damage natural stone over time.
How Often Should You Reseal?
There is no single schedule that suits every home. High-traffic areas and wet areas usually need more frequent resealing than low-use rooms. A simple test is to put a few drops of water on the grout or stone. If the water darkens quickly and soaks in, it may be time to reseal.
If you notice staining, dullness, or the surface is becoming harder to clean, that can also be a sign the sealer is wearing off. Always follow the product instructions, because different sealers have different lifespans and reapplication requirements.
If your stone tiles are old, delicate or heavily stained, or if you are dealing with a large shower or outdoor entertaining area, a professional tiler may be able to recommend the best sealer and application method. For guidance on building and renovation standards, remember the National Construction Code and your state or territory Fair Trading or building authority may apply to related work.
For more home improvement resources, you can also visit Trade Directory NZ.
If you want a neat, long-lasting result, find qualified local tilers on Aussie Trade Directory and compare local tilers near you.